
NextJs - Dynamic API Routes
Mastering Dynamic API Routes in Next.js
Next.js has become a popular framework for building server-rendered React applications. One of its powerful features is the ability to create dynamic API routes, which allow you to build flexible backend services directly within your Next.js application. In this blog post, we'll walk through the process of creating dynamic API routes in Next.js, breaking it down step by step.
What are API Routes?
API routes in Next.js provide a way to build your API endpoints quickly. They are simple to create and can respond to HTTP requests, allowing you to handle complex logic and data fetching. With dynamic API routes, you can create endpoints that accept variable parameters, making your application more versatile.
Creating Dynamic API Routes
Step 1: Setting Up Your Next.js Project
If you haven't already set up a Next.js project, you can do so using the following command:
npx create-next-app@latest my-next-app
cd my-next-app
Step 2: Creating Your API Directory
Next.js automatically recognizes any files inside the pages/api directory as API routes. Create this directory if it doesn't already exist:
mkdir pages/api
Step 3: Defining Dynamic Routes
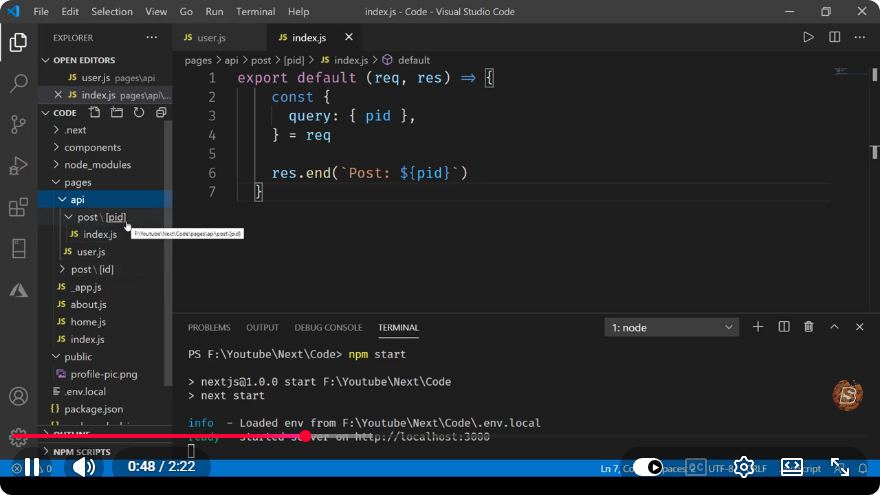
To create a dynamic API route, you need to use square brackets in the filename. For example, if you want to create an endpoint that returns user data based on their ID, you would create a file named [id].js inside the pages/api directory:
touch pages/api/users/[id].js
Step 4: Writing the API Route Logic
Open the newly created [id].js file and define your API logic. Here's a simple example that simulates fetching user data:
// pages/api/users/[id].js

export default function handler(req, res) {
  const {
    query: { id },
  } = req;

  // Simulated user data
  const users = {
    1: { name: "John Doe", age: 30 },
    2: { name: "Jane Smith", age: 25 },
  };

  // Check if the user exists
  const user = users[id];

  if (user) {
    res.status(200).json(user);
  } else {
    res.status(404).json({ message: "User not found" });
  }
}
Step 5: Testing Your API Route
To test your new dynamic API route, start your Next.js development server:
npm run dev
You can now access the API endpoint by navigating to http://localhost:3000/api/users/1 or http://localhost:3000/api/users/2 in your browser. You should see the corresponding user data returned in JSON format. If you try accessing a non-existent user, you'll receive a 404 status with a message.
Conclusion
Dynamic API routes in Next.js provide a powerful way to build backend functionality directly into your application. By following the steps outlined in this tutorial, you can quickly create flexible API endpoints that respond to variable parameters.
Feel free to expand upon this basic example by integrating a database, adding authentication, or implementing more complex business logic. Next.js makes it easy to develop full-stack applications, and dynamic API routes are just one of the many features that contribute to its popularity.
Happy coding!
Connect with SkillBakery Studios
Explore more tutorials, tools, and resources:
Posted by SkillBakery Studios


 Hello, my name is Jack Sparrow. I'm a 50 year old self-employed Pirate from the Caribbean.
No comments:
Post a Comment