
React-Native : install React Native on linux
Installing React Native on Linux: A Quick Guide
React Native is a popular framework for building mobile applications using JavaScript and React. If you're a Linux user eager to dive into mobile app development with React Native, this guide will walk you through the installation process in just a few steps. Whether you're a seasoned developer or a beginner, you'll find this guide helpful.
Prerequisites
Before we start, ensure you have the following:
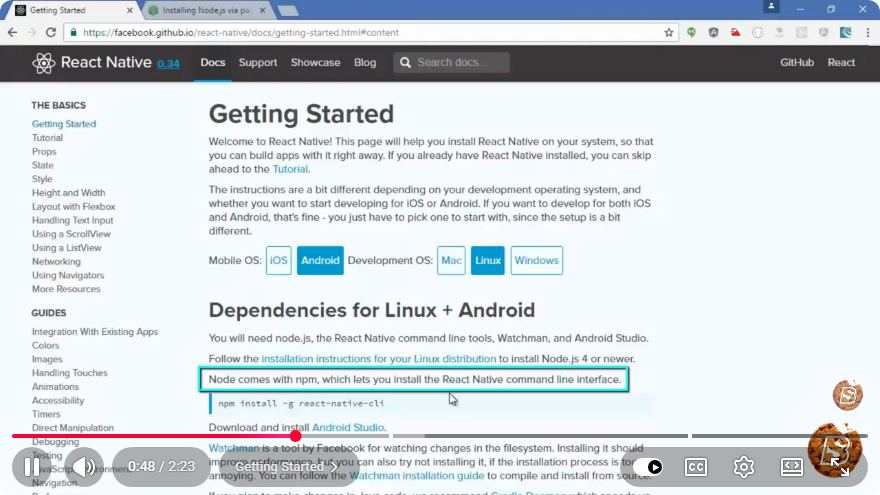
Node.js: React Native requires Node.js. You can check if it's installed by running:
node -vIf it’s not installed, you can install it using:
sudo apt update sudo apt install nodejs npmWatchman: This tool is highly recommended for better performance. You can install it with the following commands:
sudo apt install watchmanJava Development Kit (JDK): React Native requires the JDK for Android development. Install it using:
sudo apt install openjdk-11-jdkAndroid Studio: You’ll need Android Studio to set up the Android Emulator and SDK. You can download it from the official website.
Step 1: Install React Native CLI
To create and manage React Native projects, you'll need to install the React Native CLI globally. You can do this with npm:
npm install -g react-native-cli
Step 2: Set Up Android Studio and SDK
Download and Install Android Studio: Follow the instructions on the Android Studio installation page.
Configure Android SDK:
- Open Android Studio and go to
Configure>SDK Manager. - In the SDK Platforms tab, ensure you have the latest version of Android selected.
- Switch to the SDK Tools tab and ensure that the following are installed:
- Android SDK Build-Tools
- Android Emulator
- Android SDK Platform-Tools
- Android SDK Tools
- Open Android Studio and go to
Set Up Environment Variables: You'll need to set up environment variables to ensure your terminal can find the Android SDK. Add the following lines to your
~/.bashrcor~/.bash_profilefile:export ANDROID_HOME=$HOME/Android/Sdk export PATH=$PATH:$ANDROID_HOME/emulator export PATH=$PATH:$ANDROID_HOME/tools export PATH=$PATH:$ANDROID_HOME/tools/bin export PATH=$PATH:$ANDROID_HOME/platform-toolsAfter adding the lines, run:
source ~/.bashrc
Step 3: Create a New React Native Project
Now that everything is set up, you can create your new React Native project. Run the following command:
npx react-native init MyNewProject
Replace MyNewProject with your desired project name. This command initializes a new React Native project with the specified name.
Step 4: Run Your React Native Application
Navigate into your project directory:
cd MyNewProject
To run your application on an Android emulator, use the following command:
npx react-native run-android
Make sure your Android emulator is running. If you haven’t set up an emulator yet, you can create one in Android Studio by going to Configure > AVD Manager.
Conclusion
Congratulations! You’ve successfully installed React Native on your Linux system and created your first project. From here, you can start developing your mobile application using React Native.
For further learning, consider exploring the official React Native documentation to dive deeper into component structure, navigation, and state management.
Happy coding!
Connect with SkillBakery Studios
Explore more tutorials, tools, and resources:
Posted by SkillBakery Studios


 Hello, my name is Jack Sparrow. I'm a 50 year old self-employed Pirate from the Caribbean.
No comments:
Post a Comment