
React-Native : install React Native on Windows
Installing React Native on Windows in Under 3 Minutes
React Native is a popular framework that allows developers to create mobile applications using JavaScript and React. If you're a Windows user eager to get started with React Native, you’re in the right place. In this blog post, we will guide you through the installation process quickly and efficiently.
Prerequisites
Before diving into the installation, ensure you have the following prerequisites:
- Node.js: React Native requires Node.js to run. You can download it from the official Node.js website.
- npm or Yarn: These are package managers that will help you manage your project dependencies. npm comes bundled with Node.js, but you can also install Yarn separately if preferred.
- Java Development Kit (JDK): You'll need the JDK for the Android development environment. Download it from the Oracle website or use an open-source version like OpenJDK.
- Android Studio: This is essential for building and running your React Native applications on Android devices or emulators. Download it from the Android Studio website.
Step-by-Step Installation
Follow these steps to set up React Native on your Windows machine:
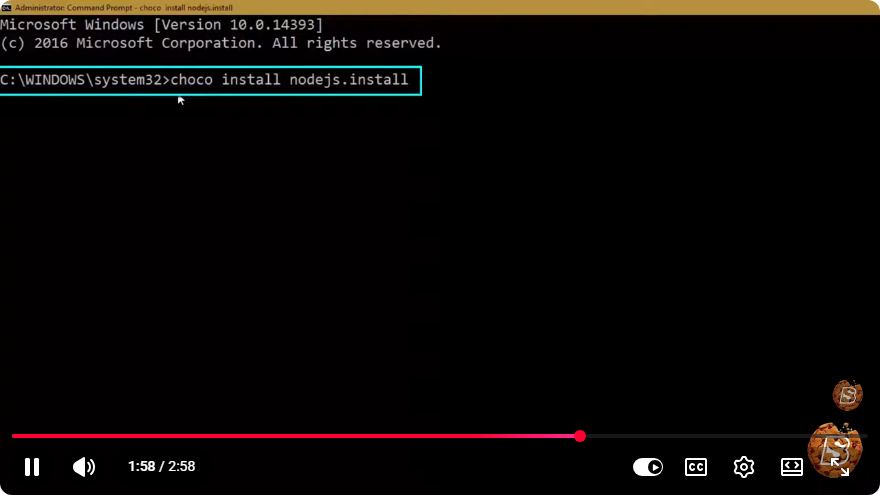
Step 1: Install Node.js
- Visit the Node.js download page.
- Download the Windows Installer (LTS version is recommended).
- Run the installer and follow the prompts to complete the installation.
Step 2: Install React Native CLI
Open your command prompt and run the following command to install the React Native CLI globally:
npm install -g react-native-cli
This command allows you to create new React Native projects from anywhere on your system.
Step 3: Set Up Android Studio
Download and install Android Studio from the official website.
During installation, ensure that you include the Android SDK, Android SDK Platform, and the Android Virtual Device.
Once installed, open Android Studio, and go to Configure > SDK Manager. Ensure that you have the necessary SDK tools installed, such as:
- Android SDK Build-Tools
- Android SDK Platform-Tools
- Android SDK Tools
Set the environment variables for the Android SDK by following these steps:
- Right-click on This PC or My Computer and select Properties.
- Click on Advanced system settings and then on Environment Variables.
- Under System variables, click New and add the following:
- Variable name:
ANDROID_HOME - Variable value: Path to your Android SDK (e.g.,
C:\Users\YourUsername\AppData\Local\Android\Sdk)
- Variable name:
- Add the following paths to the Path variable:
%ANDROID_HOME%\platform-tools%ANDROID_HOME%\tools
Step 4: Create a New React Native Project
Once everything is set up, you can create a new React Native project. Use the following command in your command prompt:
react-native init MyFirstProject
This command will create a new folder named MyFirstProject with all the necessary files to get started.
Step 5: Run Your React Native Application
Navigate into your project directory:
cd MyFirstProject
To run the application on an Android emulator or a connected device, execute:
react-native run-android
Make sure your Android emulator is running or your physical device is connected via USB with USB debugging enabled.
Conclusion
Congratulations! You have successfully installed React Native on your Windows machine and created your first project. You can now start building your mobile applications using React Native. For further learning, check out the official React Native documentation to explore more features and functionalities.
If you have any questions or run into issues during the installation, feel free to leave a comment below! Happy coding!
Connect with SkillBakery Studios
Explore more tutorials, tools, and resources:
Posted by SkillBakery Studios


 Hello, my name is Jack Sparrow. I'm a 50 year old self-employed Pirate from the Caribbean.
No comments:
Post a Comment