
Vue.js 101 : Animating Vue.js Components with CSS Transitions
Vue.js 101: Animating Vue.js Components with CSS Transitions
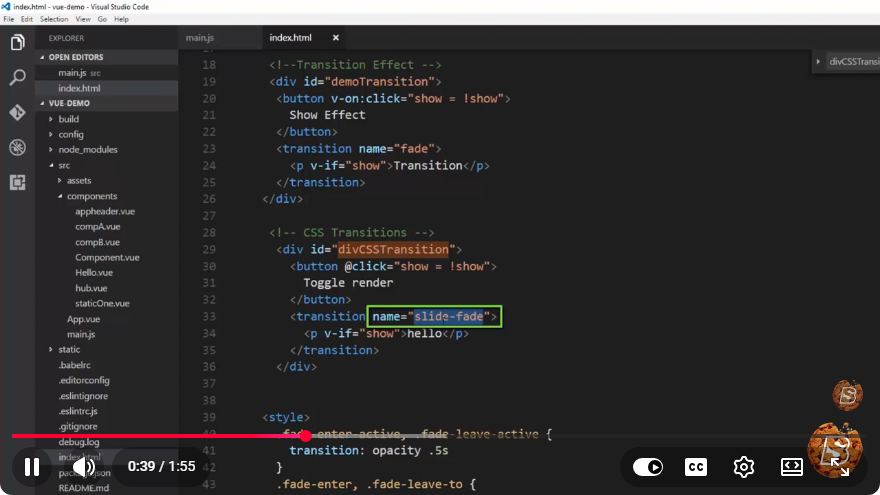
In the fast-evolving world of web development, creating visually appealing user interfaces is essential for enhancing user experience. Vue.js, a progressive JavaScript framework, provides developers with a powerful way to build interactive applications. One of the standout features of Vue.js is its ability to seamlessly integrate animations and transitions into component changes. In this tutorial, we'll explore how to animate Vue.js components using CSS transitions.
Why Use CSS Transitions?
CSS transitions allow you to change property values smoothly over a specified duration. This can enhance the user experience by providing visual feedback during component state changes, such as when a component is added or removed from the DOM. Using Vue's built-in transition component, you can easily manage these animations.
Setting Up Your Vue.js Project
Before diving into animations, ensure you have a Vue.js project set up. If you haven't already created one, you can quickly scaffold a new project using Vue CLI. Here’s how:
npm install -g @vue/cli
vue create my-project
cd my-project
npm run serve
Once your project is running, open it in your favorite code editor.
Basic Component Setup
For our example, let's create a simple component that we can animate. We'll make a basic list of items that can be added or removed. Create a new file called AnimatedList.vue in the src/components directory:
<template>
  <div>
    <button @click="addItem">Add Item</button>
    <transition name="fade">
      <ul>
        <li v-for="item in items" :key="item">{{ item }}</li>
      </ul>
    </transition>
  </div>
</template>

<script>
export default {
  data() {
    return {
      items: []
    };
  },
  methods: {
    addItem() {
      this.items.push(`Item ${this.items.length + 1}`);
    }
  }
};
</script>

<style scoped>
.fade-enter-active, .fade-leave-active {
  transition: opacity 0.5s;
}
.fade-enter, .fade-leave-to /* .fade-leave-active in <2.1.8 */ {
  opacity: 0;
}
</style>
Breakdown of the Code
Template: We have a button that, when clicked, adds a new item to the list. The
<transition>wrapper around the<ul>element enables transitions for the list items.Script: The component maintains an array of items and defines a method
addItemto push new items into this array. Vue automatically tracks the changes and triggers the transitions.Style: Here, we define CSS classes for the transition effects. The
.fade-enter-activeand.fade-leave-activeclasses handle the transition duration, while.fade-enterand.fade-leave-tocontrol the opacity, making items fade in and out.
Using the Animated List Component
Now, let's include this AnimatedList component in your main App.vue file. Open src/App.vue and modify it:
<template>
  <div id="app">
    <h1>Vue.js Animation Example</h1>
    <AnimatedList />
  </div>
</template>

<script>
import AnimatedList from './components/AnimatedList.vue';

export default {
  components: {
    AnimatedList
  }
};
</script>

<style>
#app {
  text-align: center;
  margin-top: 50px;
}
</style>
Running Your Application
To see your animations in action, ensure your development server is running. Open your browser and navigate to http://localhost:8080 (or the port specified by your Vue CLI). When you click the "Add Item" button, you should see items fade in smoothly.
Advanced Transition Techniques
While the basic example provided is a great starting point, Vue.js allows for more complex animations. You can customize the transitions further by:
Using Different Transition Names: You can define different CSS classes for various transitions, such as sliding or scaling.
Combining JavaScript Hooks: Vue also allows you to use JavaScript hooks for more advanced animations, such as triggering animations on specific lifecycle events.
Animation Libraries: Consider integrating libraries like Animate.css or GSAP for more sophisticated animations.
Conclusion
Animating Vue.js components with CSS transitions is a simple yet powerful way to enhance user experience. By utilizing Vue's transition system, you can create visually engaging applications that respond to user interactions fluidly. Experiment with different animations and explore the vast possibilities that Vue.js has to offer!
For more on Vue.js animations, check out the official Vue.js documentation. Happy coding!
Connect with SkillBakery Studios
Explore more tutorials, tools, and resources:
Posted by SkillBakery Studios


 Hello, my name is Jack Sparrow. I'm a 50 year old self-employed Pirate from the Caribbean.
No comments:
Post a Comment