
Vue.js 101 : Creating Stunning Animations for Vue.js Components with CSS
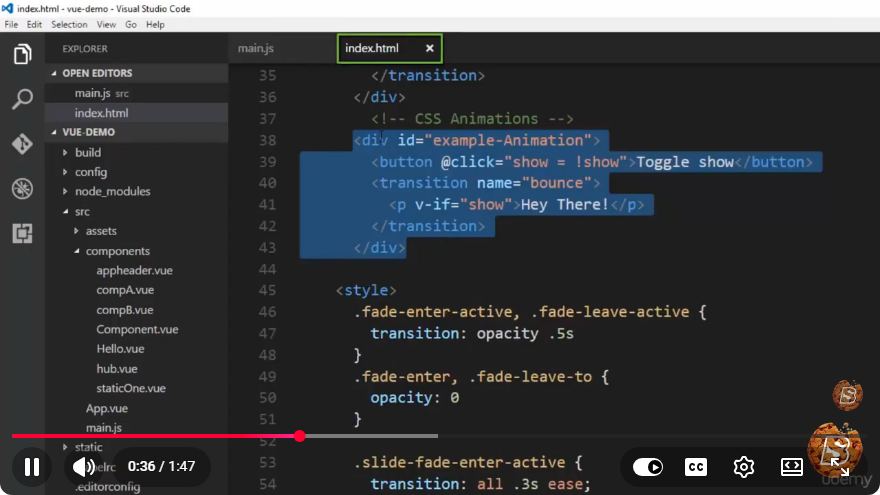
Vue.js 101: Creating Stunning Animations for Vue.js Components with CSS
Animations can significantly enhance the user experience of web applications by making them feel more dynamic and engaging. In this tutorial, we'll explore how to create stunning animations for Vue.js components using CSS. Whether you're a beginner or an experienced developer, this guide will help you leverage the power of Vue.js and CSS animations to breathe life into your applications.
Why Use Animations in Vue.js?
Animations can help:
- Guide Users: They can draw attention to important elements.
- Provide Feedback: Animations can indicate that an action has taken place (e.g., a button click).
- Enhance Aesthetics: Well-crafted animations improve the overall visual appeal of your application.
Setting Up Your Vue.js Project
Before we dive into creating animations, ensure you have a Vue.js project set up. You can quickly set up a new Vue project using the Vue CLI.
npm install -g @vue/cli
vue create my-vue-app
cd my-vue-app
npm run serve
Creating a Basic Vue Component
Let’s create a simple Vue component that we will animate. In your src/components directory, create a new file called AnimatedBox.vue:
<template>
  <div class="animated-box" @click="toggleAnimation">
    Click Me!
  </div>
</template>

<script>
export default {
  data() {
    return {
      isAnimated: false,
    };
  },
  methods: {
    toggleAnimation() {
      this.isAnimated = !this.isAnimated;
    },
  },
};
</script>

<style scoped>
.animated-box {
  width: 100px;
  height: 100px;
  background-color: #42b983;
  display: flex;
  justify-content: center;
  align-items: center;
  color: white;
  font-weight: bold;
  transition: transform 0.3s ease;
}

.animated-box:hover {
  cursor: pointer;
  transform: scale(1.1);
}

.animated-box.animated {
  animation: bounce 0.5s;
}

@keyframes bounce {
  0%, 20%, 50%, 80%, 100% {
    transform: translateY(0);
  }
  40% {
    transform: translateY(-30px);
  }
  60% {
    transform: translateY(-15px);
  }
}
</style>
Component Breakdown
- Template Section: This contains a
divelement that displays "Click Me!" and is set to trigger an animation when clicked. - Script Section: The
toggleAnimationmethod toggles theisAnimateddata property, which will control the animation class. - Style Section: CSS styles define the appearance of the box and its animations. The
.animatedclass applies the bounce animation.
Adding Animation Logic
Now we need to conditionally apply the animation class based on the isAnimated property:
Update your template in AnimatedBox.vue:
<template>
  <div :class="['animated-box', { animated: isAnimated }]" @click="toggleAnimation">
    Click Me!
  </div>
</template>
Explanation
- The
:classdirective dynamically binds classes to thediv. IfisAnimatedis true, it adds theanimatedclass, triggering the bounce animation.
Using the AnimatedBox Component
To see our animated box in action, we need to include it in our main application. Open the src/App.vue file and modify it as follows:
<template>
  <div id="app">
    <AnimatedBox />
  </div>
</template>

<script>
import AnimatedBox from './components/AnimatedBox.vue';

export default {
  components: {
    AnimatedBox,
  },
};
</script>

<style>
#app {
  text-align: center;
  margin-top: 50px;
}
</style>
Running the Application
Now that everything is set up, run your Vue application:
npm run serve
Navigate to http://localhost:8080/ in your web browser. You should see the animated box. Clicking it will trigger the bounce animation!
Conclusion
In this tutorial, we explored how to create stunning animations for Vue.js components using CSS. We built a simple animated box component that responds to user interactions. CSS animations in Vue.js can enhance user experience and create a visually appealing interface.
Feel free to experiment with different animations and transitions to make your application truly unique! For more advanced animations, consider exploring libraries like GSAP or Anime.js.
Happy coding!
Connect with SkillBakery Studios
Explore more tutorials, tools, and resources:
Posted by SkillBakery Studios


 Hello, my name is Jack Sparrow. I'm a 50 year old self-employed Pirate from the Caribbean.
No comments:
Post a Comment