
Vue.js 101 : Creating Component in CLI based project
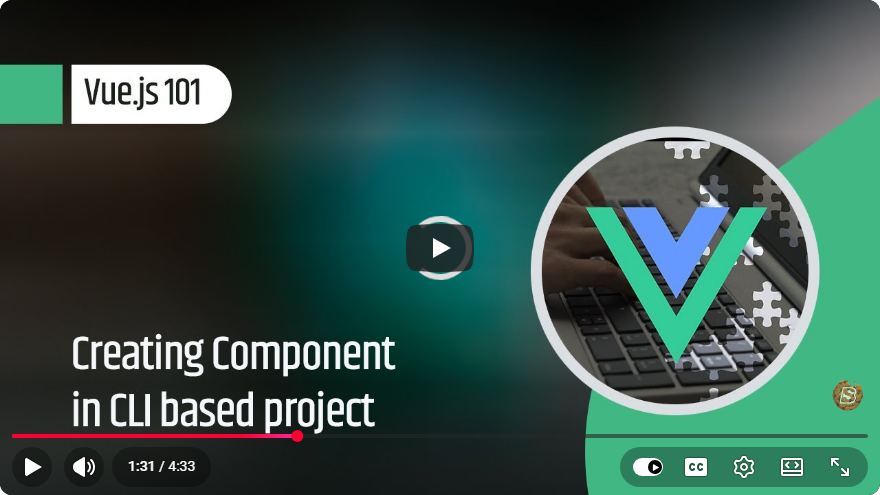
Vue.js 101: Creating Components in a CLI-Based Project
Vue.js has become one of the most popular JavaScript frameworks for building user interfaces. Its component-based architecture makes it easy to reuse code and manage state. In this blog post, we’ll explore how to create components in a Vue.js project using the Vue CLI, based on the insights from the video tutorial "Vue.js 101: Creating Component in CLI based project."
What is Vue CLI?
Vue CLI (Command Line Interface) is a tool that allows developers to quickly scaffold Vue applications. It provides a standard structure and various configurations, making it easier to manage complex applications. By using Vue CLI, you can focus on building your application rather than worrying about setup.
Setting Up Your Vue.js Project
Before creating components, you need to set up your Vue.js project. If you haven't already done so, follow these steps:
Install Vue CLI: If you don't have Vue CLI installed, you can install it globally using npm:
npm install -g @vue/cliCreate a New Project: Use the Vue CLI to create a new project. Open your terminal and run:
vue create my-vue-projectReplace
my-vue-projectwith your desired project name. Follow the prompts to select your preferred features.Navigate to the Project Directory:
cd my-vue-projectRun the Development Server:
npm run serveThis command starts a local development server, and you can view your project in the browser at
http://localhost:8080.
Creating a New Component
Now that your project is set up and running, let's create a new component.
Step 1: Create the Component File
Navigate to the Components Directory: In your project, go to the
src/componentsdirectory. This is where all your components will reside.Create a New File: Create a new file for your component. For this tutorial, we’ll create a simple
HelloWorld.vuecomponent.touch src/components/HelloWorld.vue
Step 2: Define the Component Structure
Open the HelloWorld.vue file in your code editor and add the following code:
<template>
  <div>
    <h1>Hello, World!</h1>
    <p>This is my first Vue component!</p>
  </div>
</template>

<script>
export default {
  name: "HelloWorld"
};
</script>

<style scoped>
h1 {
  color: blue;
}
</style>
Explanation:
- Template Section: This section contains the HTML structure of the component.
- Script Section: Here, we define the component's logic. In this case, we're simply exporting the component with a name.
- Style Section: This section allows you to define styles specific to this component. The
scopedattribute ensures that the styles apply only to this component.
Step 3: Use the Component in App.vue
Now that we’ve created our component, we need to use it in our main application file, App.vue.
Open
App.vue: Navigate tosrc/App.vueand open it.Import the Component: Add the following line at the top of the
<script>section:import HelloWorld from './components/HelloWorld.vue';Register the Component: Update the components object to include
HelloWorld:export default { name: 'App', components: { HelloWorld } };Add the Component to the Template: Finally, include the
<HelloWorld />tag in the<template>section ofApp.vue:<template> <div id="app"> <HelloWorld /> </div> </template>
Step 4: View Your Component
Save your changes and go back to your browser. You should see "Hello, World!" displayed on your web page, along with the message "This is my first Vue component!".
Conclusion
Congratulations! You’ve successfully created a Vue.js component in a CLI-based project. Understanding how to create and use components is fundamental to mastering Vue.js. This modular architecture allows for better maintainability and scalability in your applications.
Feel free to expand your application by creating more components and experimenting with props, events, and state management. Happy coding!
Connect with SkillBakery Studios
Explore more tutorials, tools, and resources:
Posted by SkillBakery Studios


 Hello, my name is Jack Sparrow. I'm a 50 year old self-employed Pirate from the Caribbean.
No comments:
Post a Comment