
Vue.js 101 : Enhancing User Experience: Handling Input with Vue.js
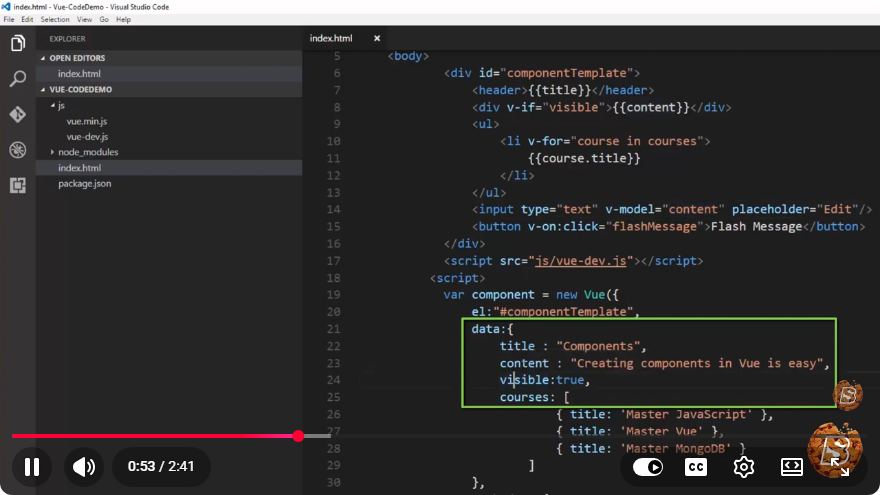
Enhancing User Experience: Handling Input with Vue.js
Vue.js is a progressive JavaScript framework that is designed to build user interfaces and single-page applications efficiently. In this blog post, we will explore how to enhance user experience by effectively handling input in Vue.js. This tutorial will cover basic input bindings, event handling, and some best practices to ensure a smooth and engaging user experience.
Understanding Vue.js Input Handling
Vue.js provides a declarative and reactive way of handling user inputs. By utilizing Vue’s data-binding capabilities, we can easily synchronize the input fields with our application’s state. This allows for real-time updates and dynamic user interfaces.
Basic Input Binding
To start with, let's create a simple Vue application that demonstrates basic input binding. We'll use the v-model directive, which creates a two-way binding between the input element and a Vue instance property.
Step 1: Setting Up Your Vue Instance
First, ensure you have Vue.js included in your project. You can do this by adding the following script tag to your HTML file:
<script src="https://cdn.jsdelivr.net/npm/vue@2"></script>
Next, create a basic Vue instance:
<div id="app">
  <input v-model="message" placeholder="Type something...">
  <p>Your message: {{ message }}</p>
</div>

<script>
  new Vue({
    el: '#app',
    data: {
      message: ''
    }
  });
</script>
In this example, we have an input field that binds to a message property in the Vue instance. As you type in the input field, the paragraph below it updates in real-time to reflect the current message.
Handling Events
In addition to two-way binding, Vue.js allows you to handle events on user inputs. This is especially useful for validating input or triggering actions when a user interacts with the input field.
Step 2: Adding Event Listeners
You can use the @event directive to listen for events. For example, let’s handle the blur event, which occurs when the input field loses focus:
<input v-model="message" @blur="checkInput" placeholder="Type something...">
<p>Your message: {{ message }}</p>
<p v-if="errorMessage">{{ errorMessage }}</p>

<script>
  new Vue({
    el: '#app',
    data: {
      message: '',
      errorMessage: ''
    },
    methods: {
      checkInput() {
        if (this.message.length < 5) {
          this.errorMessage = 'Message must be at least 5 characters long.';
        } else {
          this.errorMessage = '';
        }
      }
    }
  });
</script>
In this code, when the input loses focus, the checkInput method is called. If the length of the message is less than 5 characters, an error message is displayed.
Best Practices for Enhanced User Experience
Validation Feedback: Always provide immediate feedback to users about their input. This can be done using a combination of event listeners and conditionally rendering error messages.
Accessibility: Ensure that your input elements are accessible. Use appropriate labels and consider users who may rely on screen readers.
Debouncing Input: If your application performs actions based on user input (like API calls), consider implementing debouncing to avoid excessive function calls.
Here’s a simple implementation:
methods: {
  debounce(func, delay) {
    let timeout;
    return function(...args) {
      const context = this;
      clearTimeout(timeout);
      timeout = setTimeout(() => func.apply(context, args), delay);
    };
  },
  fetchData: function() {
    // API call or logic to fetch data based on input
  },
  onInput: function() {
    this.debounce(this.fetchData, 300)();
  }
}
User Guidance: Use placeholders and help text to guide users on what to input. This enhances clarity and reduces user errors.
Styling: Use CSS to visually differentiate valid and invalid input fields. This provides a more intuitive interface.
Conclusion
Handling input effectively in Vue.js can significantly enhance user experience. By utilizing Vue's powerful data binding and event handling features, you can create dynamic, responsive, and user-friendly applications. Remember to implement validation, accessibility, and provide clear guidance to your users. With these practices in mind, you'll be well on your way to mastering input handling in Vue.js.
For more in-depth learning, consider checking out the official Vue.js documentation to explore additional topics and features. Happy coding!
Connect with SkillBakery Studios
Explore more tutorials, tools, and resources:
Posted by SkillBakery Studios


 Hello, my name is Jack Sparrow. I'm a 50 year old self-employed Pirate from the Caribbean.
No comments:
Post a Comment