
Vue.js 101 : Streamlining User Input with Key Event Handling in Vue.js
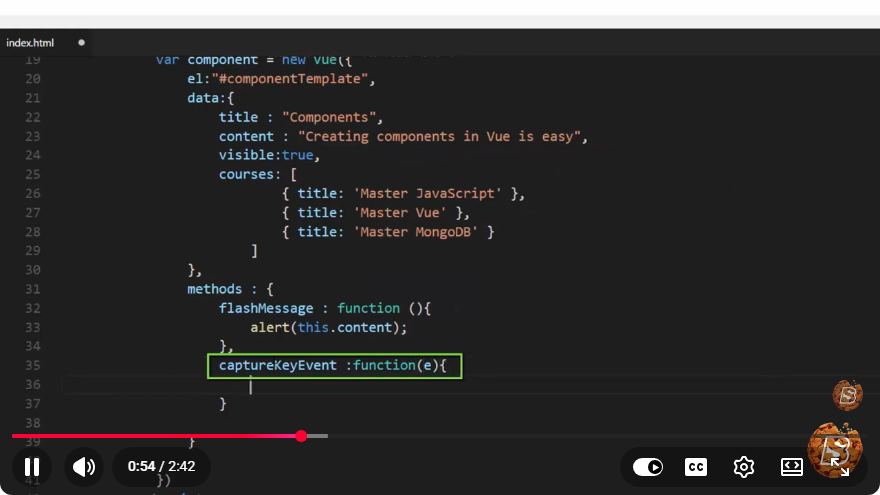
Vue.js 101: Streamlining User Input with Key Event Handling
Vue.js is a progressive JavaScript framework that makes building user interfaces simpler and more efficient. One of the essential features of Vue.js is its ability to handle events, specifically keyboard events, which can enhance the user experience when dealing with forms and input fields. In this blog post, we will explore how to streamline user input by effectively utilizing key event handling within Vue.js.
Understanding Key Event Handling
Key event handling in Vue.js allows developers to define specific actions that should occur when a user presses a key on their keyboard. This can be particularly useful for creating responsive forms, implementing shortcuts, or providing immediate feedback based on user input.
Common Key Events
There are several key events that you can listen for in Vue.js:
keydown: Triggered when a key is pressed down.keyup: Triggered when a key is released.keypress: Triggered when a character key is pressed down.
For most user input scenarios, keydown and keyup are the most commonly used events.
Setting Up Your Vue.js Environment
Before diving into key event handling, ensure that you have a basic Vue.js application set up. If you are starting from scratch, you can create a new Vue project using Vue CLI:
npm install -g @vue/cli
vue create my-vue-app
cd my-vue-app
npm run serve
Now that you have your Vue.js environment ready, let’s implement key event handling.
Implementing Key Event Handling
Step 1: Creating a Simple Input Form
To demonstrate key event handling, we will create a simple form with an input field. Open your App.vue file and replace its content with the following code:
<template>
  <div id="app">
    <h1>User Input Streamlining</h1>
    <input
      type="text"
      v-model="userInput"
      @keydown="handleKeydown"
      placeholder="Type something and press Enter"
    />
    <p v-if="message">{{ message }}</p>
  </div>
</template>

<script>
export default {
  data() {
    return {
      userInput: '',
      message: ''
    };
  },
  methods: {
    handleKeydown(event) {
      if (event.key === 'Enter') {
        this.message = `You entered: ${this.userInput}`;
        this.userInput = ''; // Clear input after submission
      }
    }
  }
};
</script>

<style>
#app {
  max-width: 400px;
  margin: auto;
  text-align: center;
}
input {
  width: 100%;
  padding: 10px;
  margin: 10px 0;
}
</style>
Step 2: Breaking Down the Code
Template Section: The template consists of a simple input field bound to a
userInputdata property and an optional message output. The@keydowndirective is used to handle the keydown event.Script Section:
- We define a
datafunction that returns an object containinguserInputandmessage. - The
handleKeydownmethod checks if the pressed key is 'Enter'. If so, it updates themessagewith the currentuserInputand clears the input field.
- We define a
Step 3: Running the Application
After implementing the code above, save your changes and run your Vue application. Open your browser and navigate to http://localhost:8080 (or the port specified in your terminal). You should see an input field that responds to the "Enter" key by displaying the input message.
Conclusion
Key event handling in Vue.js is a powerful way to streamline user input and enhance the overall user experience. By implementing simple input forms with key event listeners, you can build more interactive and responsive applications. This tutorial provided a foundational understanding of how to handle key events in Vue.js, allowing you to take your Vue applications to the next level.
Feel free to experiment with other key events and add more functionalities to your forms. Happy coding!
Connect with SkillBakery Studios
Explore more tutorials, tools, and resources:
Posted by SkillBakery Studios


 Hello, my name is Jack Sparrow. I'm a 50 year old self-employed Pirate from the Caribbean.
No comments:
Post a Comment