
Vue.js 101 : Fine-Tuning Vue.js Component Behavior: Implementing Lifecycle Events
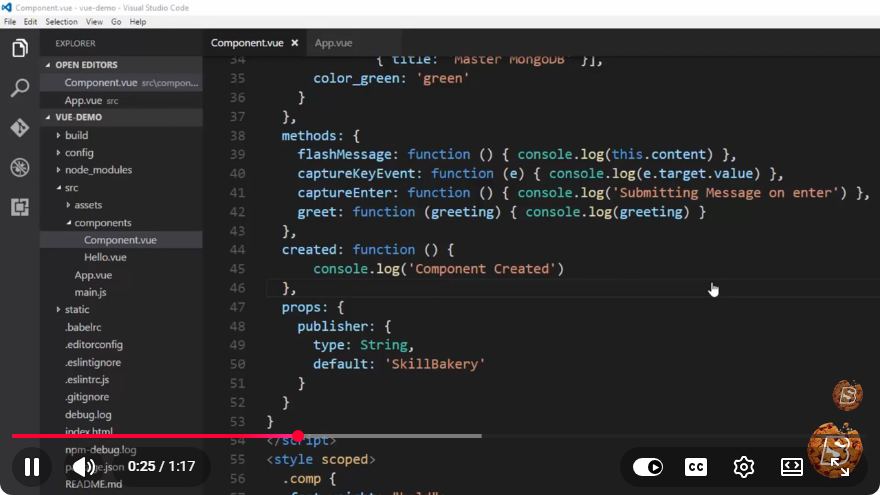
Vue.js 101: Fine-Tuning Vue.js Component Behavior with Lifecycle Events
Vue.js is a powerful JavaScript framework that simplifies the process of building interactive user interfaces. One of its key features is the concept of lifecycle events, which allow developers to hook into different stages of a component’s existence. In this blog post, we will explore how to implement and fine-tune component behavior using Vue.js lifecycle events.
Understanding Vue.js Lifecycle Hooks
In Vue.js, every component goes through a series of stages from creation to destruction. These stages are referred to as the component lifecycle, and they include:
- Creation: The component is being created and initialized.
- Mounting: The component is being rendered and inserted into the DOM.
- Updating: The component is re-rendered in response to data changes.
- Destruction: The component is being removed from the DOM.
Vue.js provides lifecycle hooks that correspond to these stages, allowing you to execute code at specific points in a component's lifecycle.
Common Lifecycle Hooks
Here are some of the most commonly used lifecycle hooks in Vue.js:
beforeCreate: Called after the instance has been initialized but before data observation and events setup.created: Called after the instance has been created. At this point, data can be accessed, but the DOM is not yet available.beforeMount: Called right before the component is mounted to the DOM.mounted: Called after the component has been mounted to the DOM. This is a good place for DOM-dependent operations.beforeUpdate: Called before the data changes and the DOM re-renders.updated: Called after the data has changed and the DOM has re-rendered.beforeDestroy: Called right before the component is destroyed, allowing cleanup of resources.destroyed: Called after the component has been destroyed.
Implementing Lifecycle Hooks in Vue.js
To illustrate how to implement lifecycle hooks in a Vue.js component, let’s look at a simple example of a counter component.
Step 1: Setting Up Your Vue Component
First, you need to create a new Vue component. Here’s a basic example:
<template>
  <div>
    <h1>Counter: {{ count }}</h1>
    <button @click="increment">Increment</button>
  </div>
</template>

<script>
export default {
  data() {
    return {
      count: 0
    };
  },
  methods: {
    increment() {
      this.count++;
    }
  },
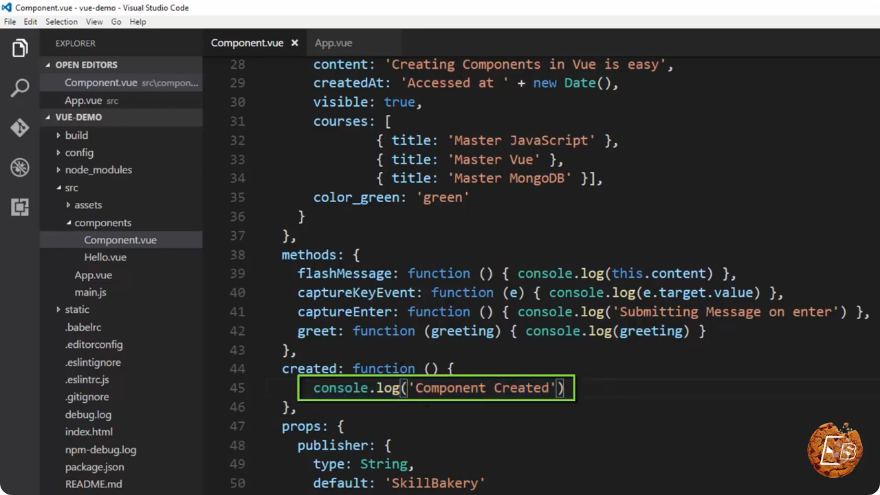
  created() {
    console.log('Component is created.');
  },
  mounted() {
    console.log('Component is mounted.');
  },
  updated() {
    console.log('Component is updated.');
  },
  beforeDestroy() {
    console.log('Component is about to be destroyed.');
  },
  destroyed() {
    console.log('Component has been destroyed.');
  }
};
</script>

<style scoped>
h1 {
  color: blue;
}
</style>
Step 2: Explanation of the Code
Template: The template consists of a simple heading displaying the current count and a button that increments the count when clicked.
Data: The
datafunction returns an object containing thecountproperty.Methods: The
incrementmethod updates thecountproperty when the button is clicked.Lifecycle Hooks:
- In the
createdhook, we log a message indicating that the component has been created. - The
mountedhook logs a message once the component is inserted into the DOM. - The
updatedhook logs a message each time the component re-renders due to a change in data. - The
beforeDestroyanddestroyedhooks log messages when the component is about to be destroyed and after it has been destroyed, respectively.
- In the
Conclusion
Understanding and utilizing Vue.js lifecycle hooks will significantly enhance your ability to create dynamic, responsive components. By implementing these hooks, you can fine-tune your component behavior, manage resources effectively, and ensure that your application runs smoothly.
For further learning, consider experimenting with additional lifecycle hooks and exploring how they can be used to handle asynchronous operations, subscriptions, and more complex component interactions.
Feel free to check out the YouTube video for a quick overview and more visual examples on implementing lifecycle events in Vue.js! Happy coding!
Connect with SkillBakery Studios
Explore more tutorials, tools, and resources:
Posted by SkillBakery Studios


 Hello, my name is Jack Sparrow. I'm a 50 year old self-employed Pirate from the Caribbean.
No comments:
Post a Comment