
Vue.js 101 : Project - Todo Application using Vue.js & Vuex - Introduction 25 seconds
Vue.js 101: Building a Todo Application with Vue.js and Vuex
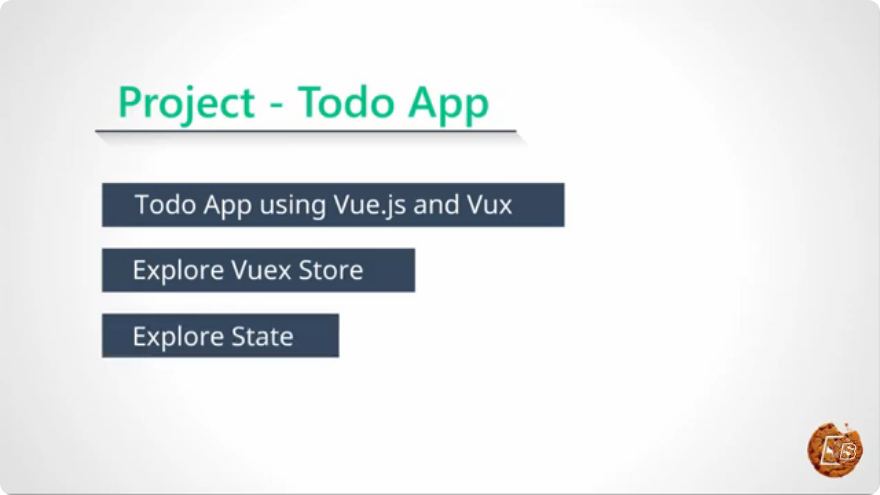
In this tutorial, we will embark on a journey to create a simple yet effective Todo application using Vue.js and Vuex. This project not only introduces you to the fundamentals of Vue.js but also demonstrates how to manage the state of your application with Vuex. Whether you’re a beginner or looking to refresh your skills, this guide will provide you with the necessary steps to get started.
What is Vue.js?
Vue.js is a progressive JavaScript framework used for building user interfaces. It is designed to be incrementally adoptable, making it very approachable for beginners. Vue allows developers to create reusable components, manage their state effectively, and build dynamic applications with ease.
What is Vuex?
Vuex is a state management library specifically designed for Vue.js applications. It provides a centralized store for all components in an application, ensuring that the state can be managed in a predictable manner. Vuex is particularly useful in larger applications where managing state across multiple components can become complex.
Prerequisites
Before we dive into the coding part, ensure you have the following:
- Basic understanding of HTML, CSS, and JavaScript.
- Node.js and npm installed on your machine.
- Familiarity with Vue.js (though not mandatory, it will help).
Setting Up the Project
Let’s get started by setting up our project environment.
Step 1: Create a New Vue Project
First, we need to create a new Vue project using Vue CLI. Open your terminal and run the following command:
npm install -g @vue/cli
vue create todo-app
During the setup, you’ll be prompted to select features. Choose the default preset (Babel, ESLint).
Step 2: Install Vuex
Once your project is created, navigate into the project directory:
cd todo-app
Now, install Vuex:
npm install vuex
Step 3: Project Structure
Your project structure should look like this:
todo-app/
├── node_modules/
├── public/
├── src/
│   ├── assets/
│   ├── components/
│   ├── store/
│   │   └── index.js
│   ├── App.vue
│   ├── main.js
├── package.json
└── ...
Setting Up Vuex Store
Now, let’s set up the Vuex store to manage our Todo application’s state.
Step 1: Create Store
In the src/store directory, create an index.js file. This file will contain the Vuex store setup.
import Vue from 'vue';
import Vuex from 'vuex';

Vue.use(Vuex);

export default new Vuex.Store({
  state: {
    todos: []
  },
  mutations: {
    ADD_TODO(state, todo) {
      state.todos.push(todo);
    },
    REMOVE_TODO(state, todoIndex) {
      state.todos.splice(todoIndex, 1);
    }
  },
  actions: {
    addTodo({ commit }, todo) {
      commit('ADD_TODO', todo);
    },
    removeTodo({ commit }, todoIndex) {
      commit('REMOVE_TODO', todoIndex);
    }
  },
  getters: {
    allTodos: state => state.todos
  }
});
Step 2: Integrate Store with Vue Instance
Open src/main.js and integrate the Vuex store with your Vue instance:
import Vue from 'vue';
import App from './App.vue';
import store from './store';

Vue.config.productionTip = false;

new Vue({
  store,
  render: h => h(App),
}).$mount('#app');
Building the Todo Component
Next, let’s build the main component for our Todo application.
Step 1: Create Todo Component
In the src/components directory, create a Todo.vue file:
<template>
  <div>
    <h1>My Todo List</h1>
    <input v-model="newTodo" @keyup.enter="addNewTodo" placeholder="Add a new todo" />
    <ul>
      <li v-for="(todo, index) in todos" :key="index">
        {{ todo }}
        <button @click="removeTodo(index)">Remove</button>
      </li>
    </ul>
  </div>
</template>

<script>
import { mapGetters } from 'vuex';

export default {
  data() {
    return {
      newTodo: ''
    };
  },
  computed: {
    ...mapGetters(['allTodos']),
    todos() {
      return this.allTodos;
    }
  },
  methods: {
    addNewTodo() {
      if (this.newTodo.trim()) {
        this.$store.dispatch('addTodo', this.newTodo);
        this.newTodo = '';
      }
    },
    removeTodo(index) {
      this.$store.dispatch('removeTodo', index);
    }
  }
};
</script>

<style scoped>
input {
  margin-bottom: 10px;
}
button {
  margin-left: 10px;
}
</style>
Step 2: Use Todo Component in App.vue
Open src/App.vue and include the Todo component:
<template>
  <div id="app">
    <Todo />
  </div>
</template>

<script>
import Todo from './components/Todo.vue';

export default {
  components: {
    Todo
  }
};
</script>
Running the Application
Now that we have everything set up, it’s time to run our application. In your terminal, use the following command:
npm run serve
Visit http://localhost:8080 in your web browser. You should see your Todo application in action!
Conclusion
In this tutorial, we successfully built a simple Todo application using Vue.js and Vuex. We explored how to set up a Vue project, integrate Vuex for state management, and create a basic user interface for adding and removing todos.
This foundational knowledge will serve you well as you continue to explore the vast features of Vue.js.
Feel free to expand on this application by adding features like editing todos, marking them as completed, or persisting them in local storage. Happy coding!
Connect with SkillBakery Studios
Explore more tutorials, tools, and resources:
Posted by SkillBakery Studios


 Hello, my name is Jack Sparrow. I'm a 50 year old self-employed Pirate from the Caribbean.
No comments:
Post a Comment