
Vue.js 101 : Smoothly Transitioning Between Vue.js Components
Vue.js 101: Smoothly Transitioning Between Vue.js Components
In the world of web development, maintaining a seamless user experience is crucial. One way to enhance this experience in Vue.js applications is by implementing smooth transitions between components. This blog post will guide you through the process of creating beautiful transitions in Vue.js, ensuring that your applications feel more dynamic and interactive.
What Are Transitions in Vue.js?
Transitions in Vue.js allow you to apply animations when elements enter or leave the DOM. This feature is particularly useful when switching between different components, as it can add a layer of polish and professionalism to your application.
Vue.js provides a simple API to create transitions, making it easy for developers to implement these features without diving deep into complex animation libraries.
Setting Up Your Vue Project
Before we dive into the transition effects, let’s ensure you have a Vue.js project set up. If you haven't already, you can create a new Vue project using Vue CLI:
npm install -g @vue/cli
vue create my-vue-app
cd my-vue-app
npm run serve
Once your project is up and running, you can start adding components and transitions.
Basic Component Structure
Let’s create two simple components that we will transition between. Create two new files named ComponentA.vue and ComponentB.vue in the src/components directory.
Component A
<template>
  <div class="component-a">
    <h2>This is Component A</h2>
    <button @click="$emit('switch')">Switch to Component B</button>
  </div>
</template>

<script>
export default {
  name: 'ComponentA',
}
</script>

<style scoped>
.component-a {
  padding: 20px;
  background-color: #f9f9f9;
  border: 1px solid #ccc;
}
</style>
Component B
<template>
  <div class="component-b">
    <h2>This is Component B</h2>
    <button @click="$emit('switch')">Switch to Component A</button>
  </div>
</template>

<script>
export default {
  name: 'ComponentB',
}
</script>

<style scoped>
.component-b {
  padding: 20px;
  background-color: #e0f7fa;
  border: 1px solid #00acc1;
}
</style>
Implementing Transitions
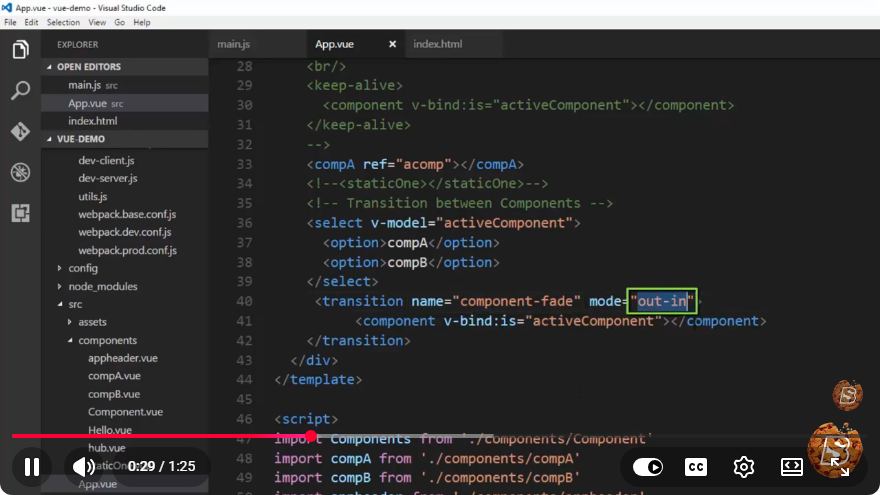
Now that we have our components ready, let's transition between them. Open the App.vue file and modify it as follows:
<template>
  <div id="app">
    <transition name="fade" mode="out-in">
      <component :is="currentComponent" @switch="toggleComponent" />
    </transition>
    <button @click="toggleComponent">Toggle Component</button>
  </div>
</template>

<script>
import ComponentA from './components/ComponentA.vue';
import ComponentB from './components/ComponentB.vue';

export default {
  components: {
    ComponentA,
    ComponentB,
  },
  data() {
    return {
      currentComponent: 'ComponentA',
    };
  },
  methods: {
    toggleComponent() {
      this.currentComponent = this.currentComponent === 'ComponentA' ? 'ComponentB' : 'ComponentA';
    },
  },
};
</script>

<style>
.fade-enter-active, .fade-leave-active {
  transition: opacity 0.5s;
}
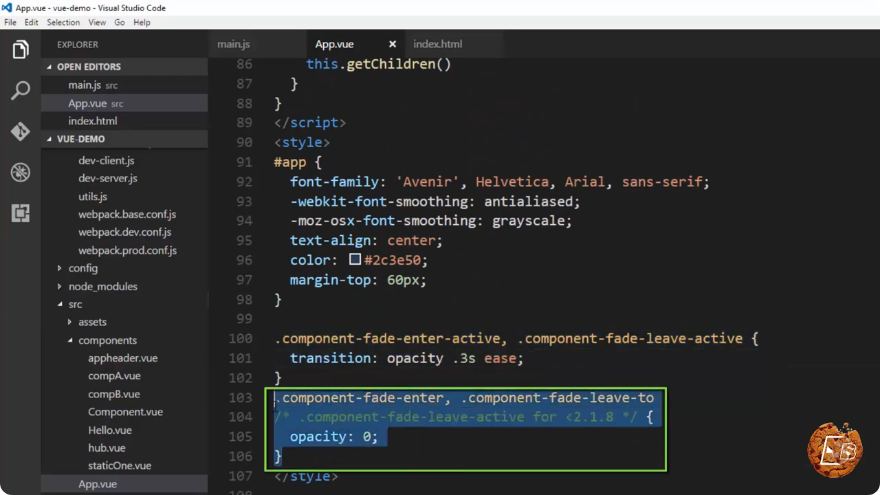
.fade-enter, .fade-leave-to /* .fade-leave-active in <2.1.8 */ {
  opacity: 0;
}
</style>
Breakdown of the Code
Transition Wrapper: The
<transition>component wraps around the components you want to animate. Thenameattribute corresponds to the CSS classes that manage the transitions.Dynamic Component Rendering: The
:isdirective enables dynamic rendering of eitherComponentAorComponentB, based on thecurrentComponentdata property.Toggle Functionality: The
toggleComponentmethod switches between the two components.Fade Transition Styles: The CSS classes
.fade-enter-activeand.fade-leave-activedefine the transition properties, while.fade-enterand.fade-leave-toset the initial and final states of the transition.
Conclusion
In this tutorial, we learned how to smoothly transition between Vue.js components using the built-in transition system. By following these steps, you can add a professional touch to your Vue applications, enhancing user experience and engagement.
Feel free to experiment with different transition effects and styles to match your application's branding and design goals. Happy coding!
Connect with SkillBakery Studios
Explore more tutorials, tools, and resources:
Posted by SkillBakery Studios


 Hello, my name is Jack Sparrow. I'm a 50 year old self-employed Pirate from the Caribbean.
No comments:
Post a Comment