
Vue.js 101 : Understanding Vue.js Transition Classes
Vue.js 101: Understanding Vue.js Transition Classes
Vue.js is a progressive JavaScript framework that has gained immense popularity for building user interfaces and single-page applications. One of the standout features of Vue.js is its support for transitions, allowing developers to create smooth animations when elements enter or leave the DOM. In this blog post, we will explore Vue.js transition classes, their usage, and how they can enhance the user experience of your application.
What Are Transition Classes?
Transition classes in Vue.js are predefined CSS classes that allow you to animate elements when they enter or leave the DOM. When a data change results in an element being added to or removed from the DOM, Vue.js applies these classes automatically, providing a simple way to manage animations without needing to manually handle them in JavaScript.
Default Transition Classes
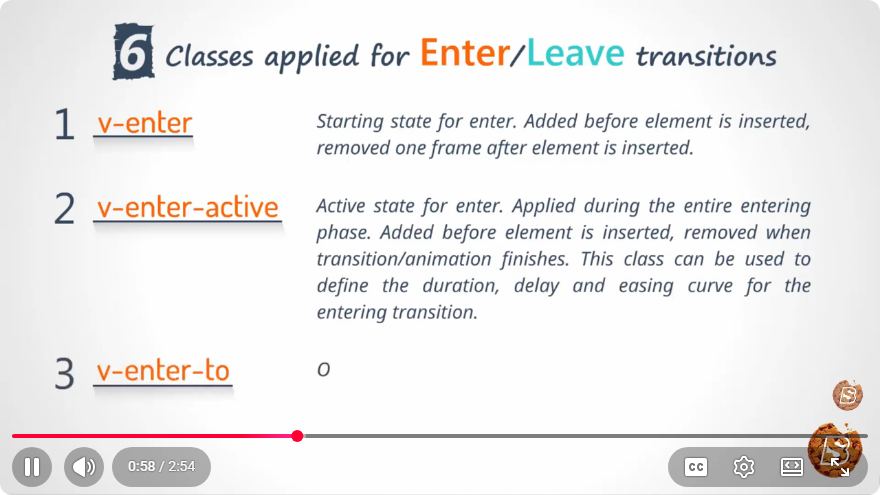
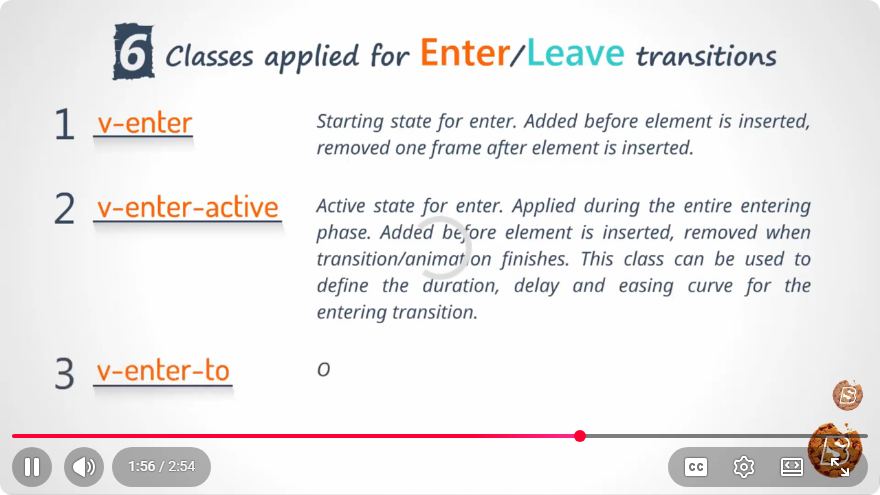
Vue.js comes with a set of default transition classes that you can use right out of the box. The default classes are:
v-enter: The class applied to an element when it is entering the DOM.v-enter-active: The class that applies during the entire entering transition.v-leave: The class applied to an element when it is leaving the DOM.v-leave-active: The class that applies during the entire leaving transition.
These classes can be used in combination with CSS transitions or animations to create visually appealing effects.
Implementing Transition Classes
To implement transition classes in a Vue.js application, you can use the <transition> wrapper component. Here’s how to do it step-by-step.
Step 1: Set Up Your Vue Component
First, create a Vue component that will include an element that you want to transition. For this example, let’s create a simple toggle for a message.
<template>
  <div>
    <button @click="toggle">Toggle Message</button>
    <transition name="fade">
      <p v-if="showMessage">Hello, Vue.js!</p>
    </transition>
  </div>
</template>

<script>
export default {
  data() {
    return {
      showMessage: false
    };
  },
  methods: {
    toggle() {
      this.showMessage = !this.showMessage;
    }
  }
};
</script>
Step 2: Define Transition Classes in CSS
Next, you need to define the CSS for the transition effect. In this case, we will create a fade effect using opacity.
.fade-enter, .fade-leave-to /* .fade-leave-active in <2.1.8 */ {
  opacity: 0;
}
.fade-enter-active, .fade-leave-active {
  transition: opacity 0.5s ease;
}
Step 3: Test Your Transition
Now that you have set up your Vue component and the corresponding CSS, you can test the toggle button. Clicking the button will show or hide the message with a smooth fade-in and fade-out effect.
Customizing Transition Classes
You can customize your transition classes to create unique animations. Instead of using the default fade class, you can define your own class name and modify the CSS accordingly.
For example:
<transition name="slide">
  <p v-if="showMessage">Hello, Vue.js!</p>
</transition>
And the corresponding CSS:
.slide-enter {
  transform: translateY(-30px);
  opacity: 0;
}
.slide-enter-active {
  transition: all 0.5s ease;
}
.slide-leave {
  transform: translateY(0);
  opacity: 1;
}
.slide-leave-active {
  transform: translateY(-30px);
  opacity: 0;
  transition: all 0.5s ease;
}
Conclusion
Transition classes in Vue.js offer an elegant and efficient way to animate components when they enter or leave the DOM. By using the built-in <transition> component along with CSS classes, you can create smooth transitions that enhance the user experience of your application.
Experiment with different CSS properties, animations, and transitions to find the perfect effect for your project. Happy coding!
Connect with SkillBakery Studios
Explore more tutorials, tools, and resources:
Posted by SkillBakery Studios


 Hello, my name is Jack Sparrow. I'm a 50 year old self-employed Pirate from the Caribbean.
No comments:
Post a Comment