
Vue.js - Creating Componnents - Standalone version
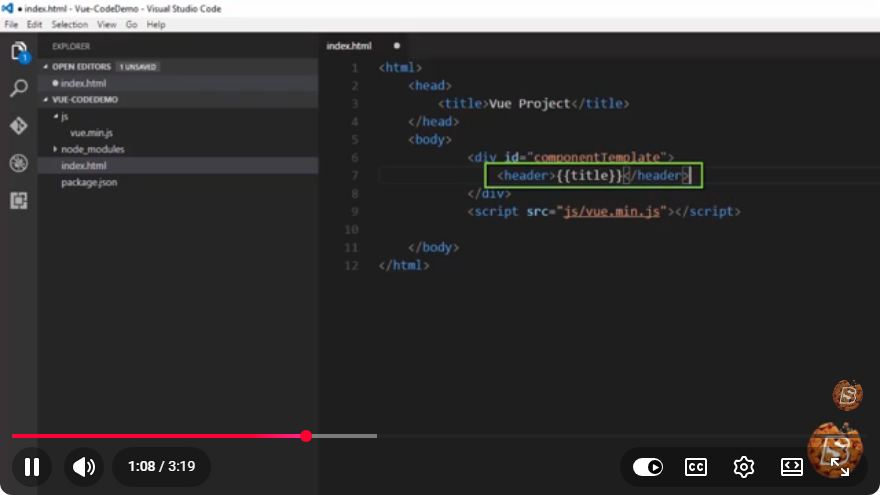
Creating Components in Vue.js: A Quick Guide
Vue.js is a progressive JavaScript framework used for building user interfaces. One of its core features is the ability to create reusable components, which help in organizing code and enhancing maintainability. In this blog post, we will explore how to create standalone components in Vue.js, perfect for beginners looking to grasp the fundamentals quickly.
What is a Vue Component?
A Vue component is essentially a reusable piece of code that encapsulates the HTML, CSS, and JavaScript needed to render a part of your user interface. Components can be as simple or complex as needed, allowing developers to break down their application into manageable pieces.
Setting Up Your Environment
Before we dive into creating components, ensure you have a suitable development environment. You can use Vue.js in various ways, but for this tutorial, we will focus on using the standalone version of Vue.js.
- Create an HTML file: Start by creating a new HTML file named
index.html. - Include Vue.js: Add a script tag to include the standalone Vue.js library. You can use a CDN link for convenience.
<!DOCTYPE html>
<html lang="en">
<head>
    <meta charset="UTF-8">
    <meta name="viewport" content="width=device-width, initial-scale=1.0">
    <title>Vue.js Components Example</title>
    <script src="https://cdn.jsdelivr.net/npm/vue@2.6.14/dist/vue.js"></script>
</head>
<body>
    <div id="app">
        <greeting-component></greeting-component>
    </div>

    <script>
        // Vue instance and component will go here
    </script>
</body>
</html>
Creating Your First Component
Now that we have the basic setup ready, let's create our first component named GreetingComponent.
Step 1: Define the Component
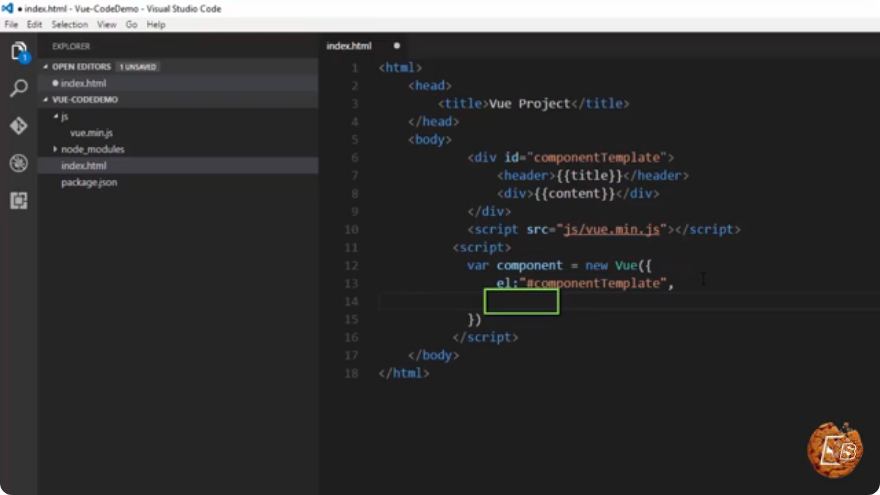
Inside the <script> tag, we can define our component using the Vue.component method. This method takes two arguments: the name of the component and an object that defines the component's options.
Vue.component('greeting-component', {
    data: function() {
        return {
            message: 'Hello, welcome to Vue.js!'
        };
    },
    template: '<h1>{{ message }}</h1>'
});
Step 2: Initialize the Vue Instance
Next, we need to create a new Vue instance that will serve as the main application. This instance will control the #app div where our component will be rendered.
new Vue({
    el: '#app'
});
Complete Code Example
Here’s what your complete index.html file should look like:
<!DOCTYPE html>
<html lang="en">
<head>
    <meta charset="UTF-8">
    <meta name="viewport" content="width=device-width, initial-scale=1.0">
    <title>Vue.js Components Example</title>
    <script src="https://cdn.jsdelivr.net/npm/vue@2.6.14/dist/vue.js"></script>
</head>
<body>
    <div id="app">
        <greeting-component></greeting-component>
    </div>

    <script>
        Vue.component('greeting-component', {
            data: function() {
                return {
                    message: 'Hello, welcome to Vue.js!'
                };
            },
            template: '<h1>{{ message }}</h1>'
        });

        new Vue({
            el: '#app'
        });
    </script>
</body>
</html>
Running Your Application
To see your new Vue component in action, simply open the index.html file in your web browser. You should see a header displaying the message "Hello, welcome to Vue.js!"
Conclusion
Creating components in Vue.js is a straightforward process that significantly enhances the modularity and reusability of your code. By following this guide, you have successfully created a standalone Vue component.
As you become more familiar with Vue, consider exploring more advanced features like props, events, and lifecycle hooks to take full advantage of the power of Vue components.
Happy coding!
Connect with SkillBakery Studios
Explore more tutorials, tools, and resources:
Posted by SkillBakery Studios


 Hello, my name is Jack Sparrow. I'm a 50 year old self-employed Pirate from the Caribbean.
No comments:
Post a Comment