
Vue.js - Standalone Installation
Vue.js - Standalone Installation Guide
Vue.js is a progressive JavaScript framework used for building user interfaces. With its flexibility and innovative features, it has gained immense popularity among developers. If you are looking to set up Vue.js in a standalone environment, this guide will walk you through the process in a clear, concise manner.
Overview
In this tutorial, we will cover the following steps to install Vue.js standalone:
- Setting up the development environment.
- Installing Vue.js using a CDN.
- Creating a basic Vue.js application.
By the end of this guide, you will have a functional Vue.js application running locally on your machine.
Step 1: Setting Up Your Development Environment
Before we start, ensure that you have a basic development environment set up. You will need:
- A text editor (like Visual Studio Code, Sublime Text, or Atom).
- A web browser (Chrome, Firefox, etc.) for testing your application.
- A simple HTTP server (optional for serving files, but recommended).
You can use Python’s built-in HTTP server or install Node.js and use http-server. Here’s how to set it up with Python:
Using Python's HTTP Server
If you have Python installed, navigate to your project directory in the terminal and run:
# For Python 3
python -m http.server 8000
This command will start a local server accessible at http://localhost:8000.
Step 2: Installing Vue.js Using a CDN
The easiest way to get started with Vue.js is to include it via a Content Delivery Network (CDN). This method allows you to start coding immediately without any complex setup.
Adding Vue.js to Your Project
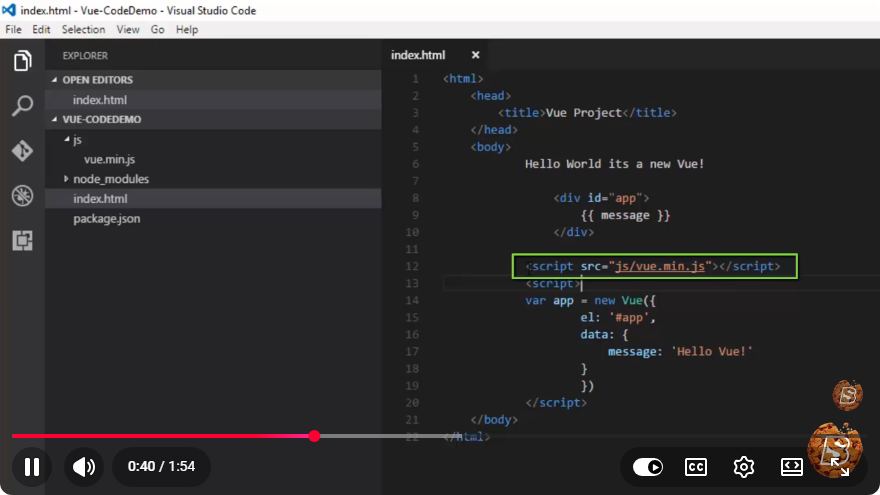
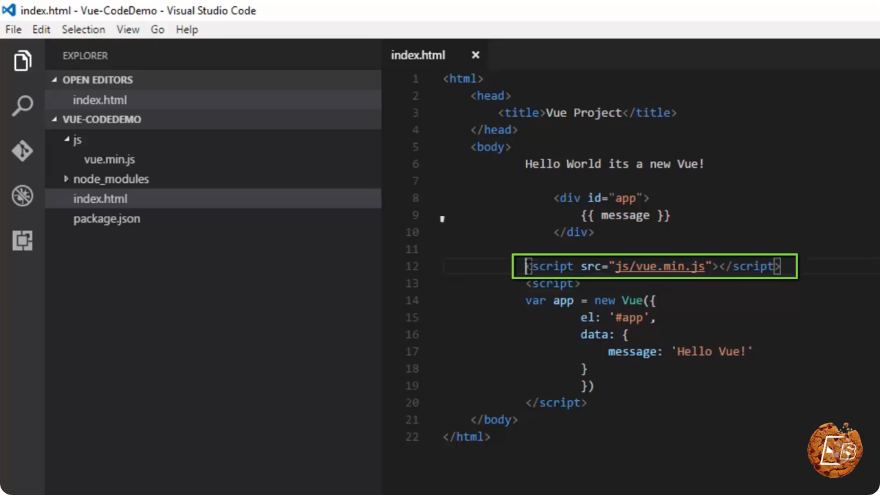
Create a new HTML file named index.html in your project directory and include the Vue.js CDN link in the <head> section:
<!DOCTYPE html>
<html lang="en">
<head>
    <meta charset="UTF-8">
    <meta name="viewport" content="width=device-width, initial-scale=1.0">
    <title>Vue.js Standalone Installation</title>
    <script src="https://cdn.jsdelivr.net/npm/vue@2.6.14/dist/vue.js"></script>
</head>
<body>
    <div id="app">
        <h1>{{ message }}</h1>
    </div>
    <script>
        var app = new Vue({
            el: '#app',
            data: {
                message: 'Hello, Vue.js!'
            }
        });
    </script>
</body>
</html>
In this code:
- We include the Vue.js library via the CDN.
- We create a Vue instance that binds to the
#appdiv. - We define a
dataproperty with a message that will be displayed in the HTML.
Step 3: Creating a Basic Vue.js Application
Now that we have set up Vue.js, let’s make sure it works. Open your terminal, navigate to your project directory, and start the server if you haven’t already. Access your application by visiting http://localhost:8000 in your browser.
You should see the message "Hello, Vue.js!" rendered on the page. Congratulations! You have successfully installed Vue.js in a standalone environment.
Expanding Your Application
From this point, you can start building more complex components and features using Vue.js. Here are some ideas to get started:
- Create additional data properties and methods in your Vue instance.
- Explore Vue directives such as
v-if,v-for, andv-bind. - Look into Vue Router for navigation, or Vuex for state management.
Conclusion
Setting up Vue.js in a standalone environment is quick and straightforward. By following the steps outlined in this guide, you have laid the groundwork for building powerful applications using this versatile framework. As you dive deeper into Vue.js, you'll find a wealth of features and community resources to assist you in your development journey.
For more advanced setups, consider exploring Vue CLI or integrating Vue.js with other tools and libraries. Happy coding!
Connect with SkillBakery Studios
Explore more tutorials, tools, and resources:
Posted by SkillBakery Studios


 Hello, my name is Jack Sparrow. I'm a 50 year old self-employed Pirate from the Caribbean.
No comments:
Post a Comment