
Web Developers : Create an Accessible Group of Form Fields
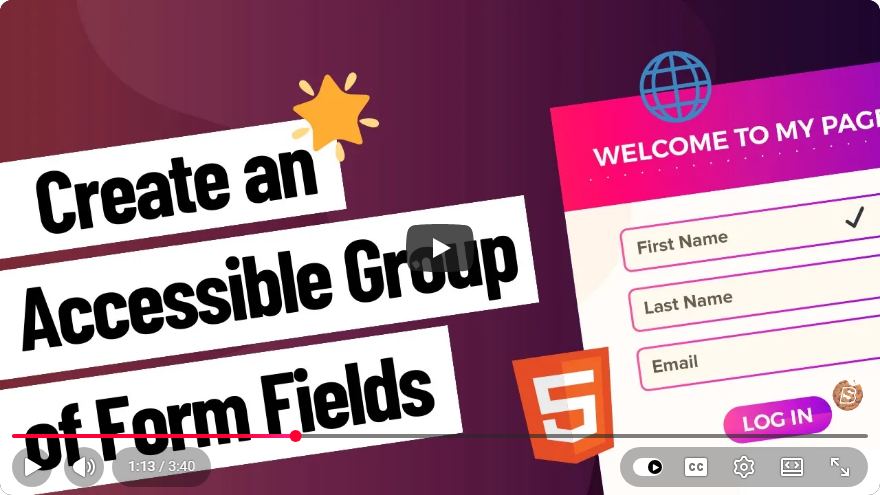
Creating an Accessible Group of Form Fields for Web Developers
In today's digital landscape, accessibility is not just a nice-to-have; it’s a necessity. Ensuring that your web forms are accessible can significantly enhance user experience, particularly for individuals with disabilities. In this post, we will explore how to create an accessible group of form fields, which is essential for any web developer striving to enhance usability.
Understanding Form Accessibility
Before diving into the implementation, it’s important to understand what makes a form accessible. Accessibility in forms means that users, including those with disabilities, can easily navigate, understand, and submit the form. This often involves using proper HTML elements and attributes to provide context and support for various assistive technologies.
Key Considerations
- Labeling: Every form field should have an associated
<label>. This helps screen readers announce the purpose of the field. - Grouping: Related fields should be grouped together logically, making it easier for users to understand the context.
- Keyboard Navigation: Ensure that all fields can be accessed and submitted using a keyboard alone.
Step-by-Step Guide to Creating an Accessible Group of Form Fields
1. Use Semantic HTML
Start by using the correct semantic HTML tags. A common approach is to use <fieldset> and <legend> to group related form fields. The <fieldset> tag is used to group fields, while <legend> provides a caption for the group.
Here’s a basic example:
<form>
  <fieldset>
    <legend>Contact Information</legend>
    <label for="name">Name:</label>
    <input type="text" id="name" name="name" required>

    <label for="email">Email:</label>
    <input type="email" id="email" name="email" required>
  </fieldset>

  <button type="submit">Submit</button>
</form>
2. Ensure Labels are Associated with Fields
Each <label> should have a for attribute that matches the id of the corresponding input field. This association is crucial for screen readers to function correctly.
<label for="name">Name:</label>
<input type="text" id="name" name="name" required>
3. Use Appropriate Input Types
Using the correct type attribute for your input fields can enhance accessibility. For example, use type="email" for email input fields, which allows for better validation and user experience.
<input type="email" id="email" name="email" required>
4. Provide Instructions and Error Messages
Clearly instruct users on how to fill out the form and provide accessible error messages. Use ARIA (Accessible Rich Internet Applications) roles and properties to enhance the accessibility of dynamic content.
<span id="error-message" role="alert" aria-live="assertive"></span>
5. Testing Your Form for Accessibility
Once you’ve implemented your form, it’s crucial to test its accessibility. Use tools like:
- WAVE: A web accessibility evaluation tool that identifies accessibility and Web Content Accessibility Guidelines (WCAG) errors.
- Browser Developer Tools: Most modern browsers have built-in accessibility testing features.
Conclusion
Creating an accessible group of form fields is essential for improving user experience and complying with accessibility standards. By following the steps outlined in this post, you will enhance the usability of your web forms, making them more inclusive for all users.
Remember, accessibility is an ongoing process. Regularly update and test your forms to ensure they meet the latest standards and best practices. Happy coding!
Connect with SkillBakery Studios
Explore more tutorials, tools, and resources:
Posted by SkillBakery Studios


 Hello, my name is Jack Sparrow. I'm a 50 year old self-employed Pirate from the Caribbean.
No comments:
Post a Comment