
Web Development (PHP) using Visual Studio Code Introduction 50 seconds
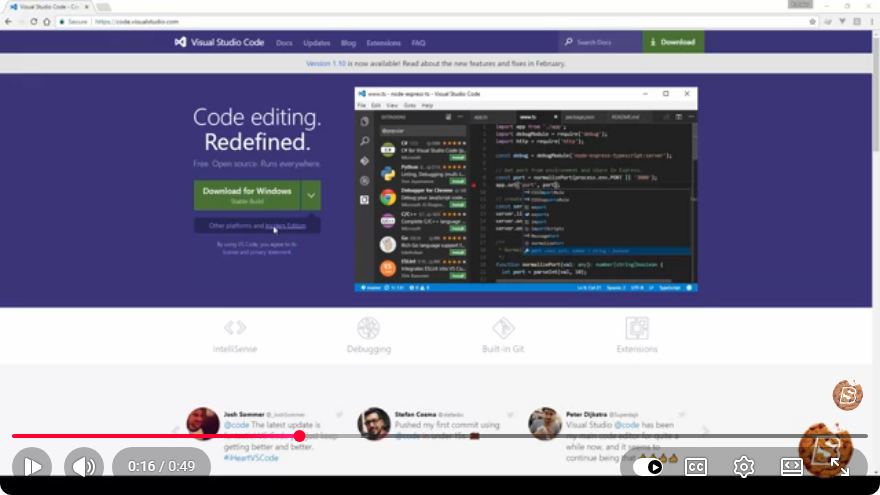
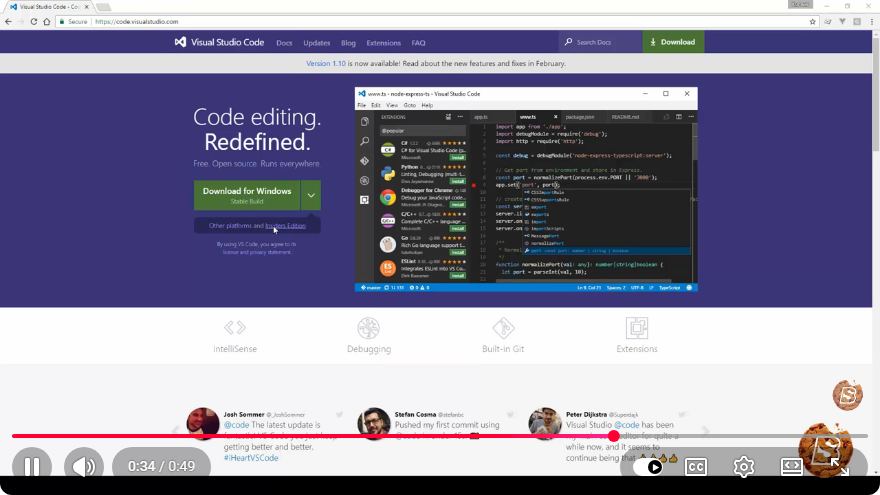
Web Development (PHP) using Visual Studio Code: A Quick Introduction
Welcome to the world of web development! In this blog post, we will explore how to get started with PHP development using Visual Studio Code (VS Code). In just a short span of time, you’ll learn the essentials to set up your environment and start coding. Let’s dive in!
What is PHP?
PHP (Hypertext Preprocessor) is a popular server-side scripting language designed for web development. It allows developers to create dynamic web pages and is widely used in conjunction with databases. PHP is known for its simplicity and versatility, making it a favorite among developers worldwide.
Why Choose Visual Studio Code?
Visual Studio Code is a powerful, open-source code editor developed by Microsoft. It offers a rich set of features, including syntax highlighting, debugging support, and extensive extensions that enhance productivity. Here are a few reasons to choose VS Code for PHP development:
- Lightweight and Fast: VS Code is efficient and doesn’t consume much system resources.
- Extensibility: You can customize your environment with a wide range of extensions to support PHP development.
- Integrated Terminal: It allows you to run your code without leaving the editor.
Setting Up Your Environment
Step 1: Install Visual Studio Code
If you haven't already, download and install Visual Studio Code from the official website.
Step 2: Install PHP
You need to have PHP installed on your machine. You can download the latest version of PHP from the official PHP website. Follow the installation instructions specific to your operating system (Windows, macOS, or Linux).
Step 3: Configure PHP in VS Code
- Open VS Code: Launch Visual Studio Code.
- Install PHP Intelephense: This is a powerful PHP language server that provides features such as code completion and error checking. To install it:
- Go to the Extensions view by clicking on the Extensions icon in the Activity Bar on the side of the window or by pressing
Ctrl+Shift+X. - Search for "PHP Intelephense" and click on the Install button.
- Go to the Extensions view by clicking on the Extensions icon in the Activity Bar on the side of the window or by pressing
Step 4: Create Your First PHP Project
- Create a New Folder: Open a new folder where you want to store your PHP project.
- Open the Folder in VS Code: Click on
File>Open Folderand select your newly created folder. - Create a New PHP File: Inside your project folder, create a new file named
index.php.
Step 5: Write a Simple PHP Script
Open index.php and add the following code:
<?php
echo "Hello, World!";
?>
Step 6: Run Your PHP Script
To run your PHP script, you can either use the built-in terminal in VS Code or a local server setup like XAMPP or MAMP. Here’s how to do it using the terminal:
Open the Integrated Terminal: You can open the terminal by selecting
Terminal>New Terminalfrom the menu or by pressing `Ctrl + `` (the backtick key).Navigate to Your Project Directory: Ensure you are in the correct folder where your
index.phpfile is located.Run the Script: Type the following command to execute your PHP script:
php index.php
You should see the output:
Hello, World!
Conclusion
Congratulations! You've successfully set up your PHP development environment using Visual Studio Code and created your first PHP script. This is just the beginning of your web development journey. As you progress, you can explore more advanced topics like frameworks (such as Laravel), database integration, and more.
Remember, practice is key to becoming proficient in PHP development. Keep coding and experimenting with new features and concepts. Happy coding!
For any further learning, feel free to check out more resources and tutorials on PHP and Visual Studio Code. If you have questions or need assistance, don’t hesitate to reach out!
Connect with SkillBakery Studios
Explore more tutorials, tools, and resources:
Posted by SkillBakery Studios


 Hello, my name is Jack Sparrow. I'm a 50 year old self-employed Pirate from the Caribbean.
No comments:
Post a Comment