
Windows 10 : Customize Action Center
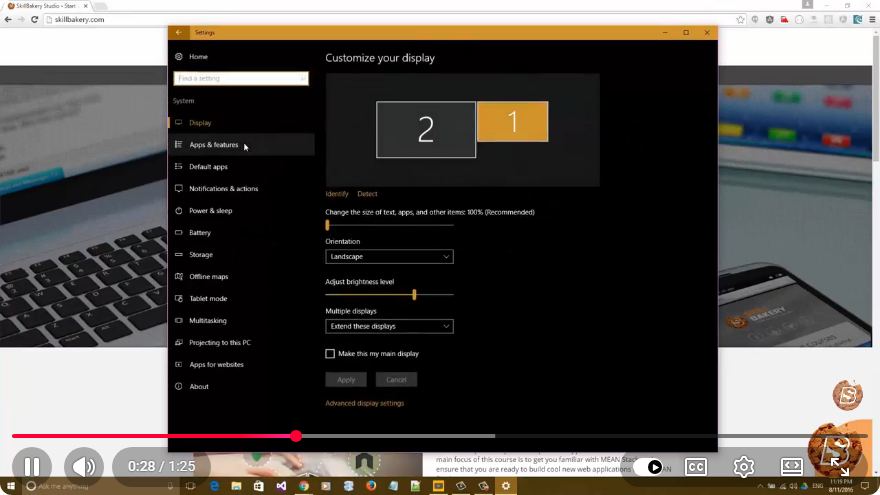
Customize Action Center in Windows 10: A Quick Guide
The Action Center in Windows 10 is a convenient feature that provides quick access to notifications and essential settings. Customizing it can significantly enhance your productivity by allowing you to tailor it to your specific needs. In this blog post, we’ll walk you through the steps to customize the Action Center in Windows 10, ensuring you can make the most out of this handy tool.
What is the Action Center?
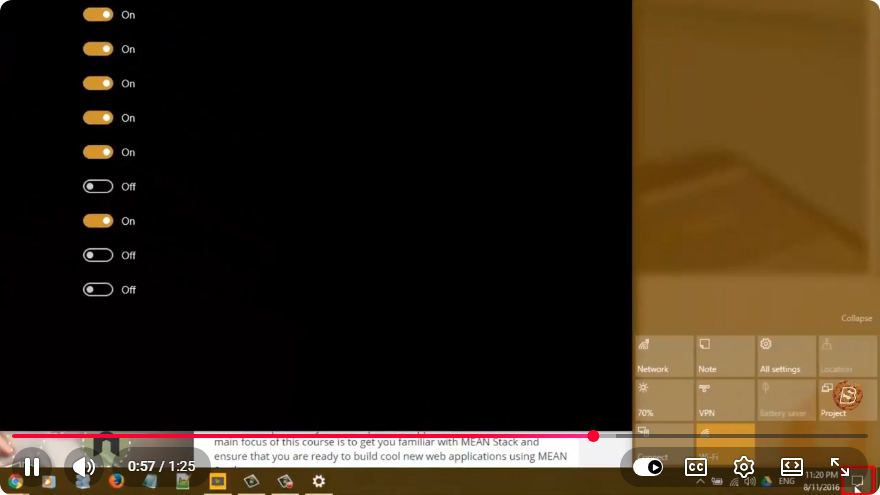
The Action Center is a sidebar that appears on the right side of your screen, accessible by clicking the notification icon in the taskbar or pressing Windows + A. It displays notifications from applications, system alerts, and quick action buttons for various settings.
How to Access the Action Center
To open the Action Center, follow these simple steps:
- Click on the Notification Icon: Locate the speech bubble icon in the taskbar at the bottom right corner of your screen.
- Use a Keyboard Shortcut: Press the
Windows + Akeys simultaneously to bring up the Action Center.
Customizing Quick Actions
Quick Actions are the buttons at the bottom of the Action Center that provide instant access to settings like Wi-Fi, Bluetooth, and Night Light. Here’s how to customize them:
Step 1: Open Settings
- Click on the Start Menu.
- Select Settings (the gear icon).
- Choose System.
Step 2: Navigate to Notifications & Actions
- In the System settings, click on Notifications & actions from the left sidebar.
Step 3: Customize Your Quick Actions
In the Notifications & actions section, you’ll see options for customizing your quick actions:
- Add or Remove Quick Actions:
- Click on the Add or remove quick actions link.
- You will see a list of available quick actions.
- To add an action, simply click the checkbox next to it.
- To remove an action, uncheck the corresponding box.
Example Quick Actions
Some common quick actions you might want to enable include:
- Airplane mode
- Bluetooth
- VPN
- Night light
- Location
Step 4: Rearranging Quick Actions
You can also rearrange the order of the quick actions:
- In the same Add or remove quick actions window, click and drag the icons to your desired position.
- Once you’re satisfied with the arrangement, simply close the Settings window.
Managing Notifications
Besides customizing quick actions, you can also manage how notifications appear in the Action Center. Here’s how:
Step 1: Adjust Notification Settings
- In the Notifications & actions section, scroll down to the Get notifications from these senders section.
- Here, you can toggle notifications on or off for individual apps.
Step 2: Advanced Notification Settings
For more detailed control:
- Click on an app in the list to access its notification settings.
- You can adjust options such as whether to show notifications in the Action Center, play a sound, or display a banner.
Conclusion
Customizing the Action Center in Windows 10 is a straightforward process that can greatly increase your efficiency. By personalizing the quick actions and managing notifications, you can streamline your workflow and ensure that you have quick access to the features you use most often.
Take a few minutes to set it up according to your preferences, and enjoy a more organized and productive Windows experience!
If you have any questions or need further assistance, feel free to leave a comment below. Happy customizing!
Connect with SkillBakery Studios
Explore more tutorials, tools, and resources:
Posted by SkillBakery Studios


 Hello, my name is Jack Sparrow. I'm a 50 year old self-employed Pirate from the Caribbean.
No comments:
Post a Comment