
Lecture-12: RAG for Beginners : Chunk Text, Create Embeddings & Store in Supabase | Full Challenge
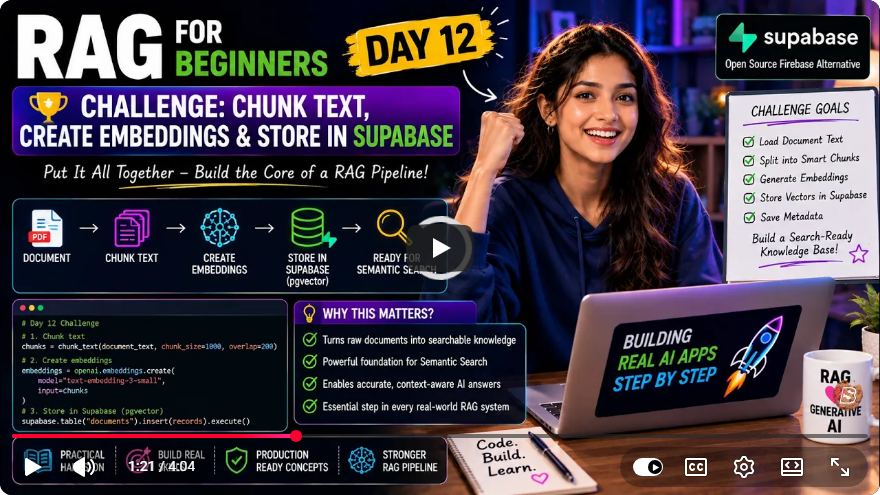
RAG for Beginners: Chunking Text, Creating Embeddings, and Storing in Supabase
Welcome to the twelfth installment of our "RAG for Beginners" series! In this tutorial, we'll tackle an essential challenge: chunking a long text, creating embeddings for those chunks, and storing everything in a Supabase vector database. This process is foundational for building real-world retrieval-augmented generation (RAG) applications. Let’s dive into the steps!
Overview of the Task
The primary objective of today’s challenge is to establish a document ingestion pipeline that processes long text. We will:
- Split the long text into manageable chunks.
- Generate embeddings for each chunk in a batch.
- Store the embeddings in a Supabase vector database.
Prerequisites
Before we begin, ensure that you have the following:
- Node.js installed on your machine.
- A Supabase account with a project set up.
- Basic understanding of JavaScript and asynchronous programming.
Step 1: Set Up Your Environment
We’ll start by creating a JavaScript file (chunk-and-store.js) where we will implement our logic. First, import the necessary modules:
const { splitText } = require('./chunking.js');
const { createEmbeddings } = require('./embeddings.js');
const Supabase = require('./supabase.js');
Here, we have three imports:
splitTextfor dividing our long text into chunks.createEmbeddingsfor generating embeddings.Supabasefor interacting with our Supabase database.
Step 2: Chunking the Long Text
Next, we will define our long text and specify how we want to chunk it. We will use a chunk size of 220 characters and an overlap of 50 characters:
const longText = "Your long text goes here..."; // replace with your actual text
const chunkSize = 220;
const overlap = 50;

const textChunks = splitText(longText, chunkSize, overlap);
In this code snippet, splitText will take care of dividing the text into chunks based on the specified parameters.
Step 3: Generating Embeddings
Once we have our chunks, the next step is to generate embeddings for all chunks in one batch. This approach is more efficient than generating them one by one.
const embeddings = await createEmbeddings(textChunks);
This line will call the createEmbeddings function, which should be designed to handle an array of text chunks and return their corresponding embeddings.
Step 4: Preparing Data for Insertion
After generating the embeddings, we need to prepare the data for insertion into Supabase. We will convert each embedding array into a string format, which is the most reliable way to store vectors in Supabase.
const formattedData = textChunks.map((chunk, index) => {
    return {
        content: chunk,
        embedding: embeddings[index].join(',') // converting array to comma-separated string
    };
});
Step 5: Storing Data in Supabase
Now we will set up the connection to the Supabase database and insert the prepared data:
async function storeChunksInSupabase(data) {
    try {
        // Clear previous data if necessary
        await Supabase.from('documents').delete().neq('id', 0);

        // Insert new chunks
        const { data: insertionData, error } = await Supabase.from('documents').insert(data);

        if (error) throw error;

        console.log('Successfully stored chunks in Supabase:', insertionData);
    } catch (error) {
        console.error('Error storing chunks:', error);
    }
}

storeChunksInSupabase(formattedData);
In this function:
- We first delete previous entries in the
documentstable (you can comment this out if not needed). - Then, we insert the new chunks and log the result.
Step 6: Execute the Script
Finally, you can run your script from the command line:
node chunk-and-store.js
Once executed, you should see output confirming that all three steps were executed successfully. You can also check your Supabase database to verify that new rows have been inserted.
Conclusion
Congratulations! You have successfully built a complete document ingestion pipeline that processes long text into manageable chunks, generates their embeddings, and stores them in a Supabase vector database. This foundational knowledge is crucial for developing effective RAG systems.
In our next lesson, we will focus on improving error handling and learning how to manage multiple search results more effectively. If you found this tutorial helpful, please like and subscribe for more content. Happy coding!
Connect with SkillBakery Studios
Explore more tutorials, tools, and resources:
Posted by SkillBakery Studios


 Hello, my name is Jack Sparrow. I'm a 50 year old self-employed Pirate from the Caribbean.
No comments:
Post a Comment