
Lecture-6: RAG for Beginners: Supabase Publishable Key Setup | Modern API Keys Explained
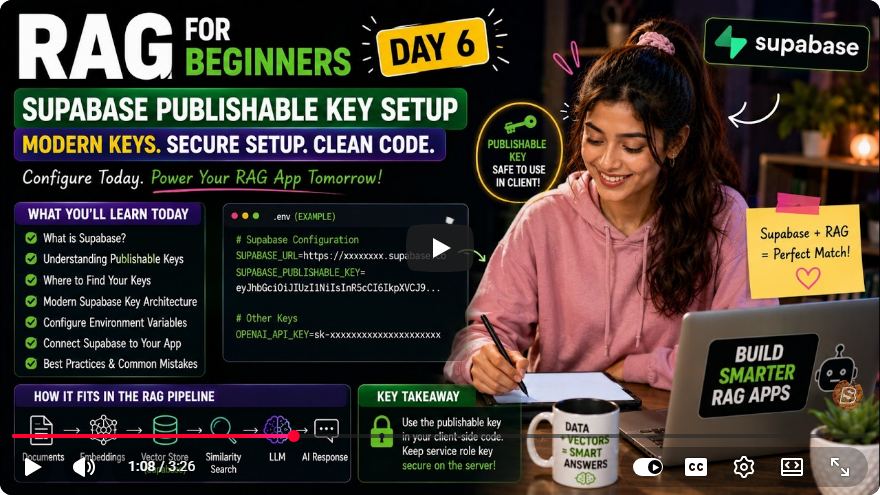
Setting Up Supabase for RAG: A Beginner's Guide to Publishable Key Configuration
Welcome to Day 6 of our series on Retrieval-Augmented Generation (RAG). In this installment, we will focus on setting up the necessary components for our project, particularly how to configure the Supabase publishable key and URL. This step is crucial for avoiding common dependency issues, especially when dealing with embeddings.
Prerequisites
Before we get started, ensure you have the following:
- Node.js and npm: Make sure you have Node.js installed on your machine. This comes with npm (Node Package Manager).
- A Supabase account: If you don’t have one, sign up at Supabase.
- A code editor: Use any code editor of your choice (like Visual Studio Code).
Step 1: Installing the Supabase Client Library
To begin, we need to install the official Supabase JavaScript package. Open your terminal and run the following command:
npm install @supabase/supabase-js
This command installs the Supabase client library, allowing you to interact with your Supabase project seamlessly.
Step 2: Creating a Supabase Project
Next, navigate to Supabase and log in to your account. Once logged in:
- Click on "New Project."
- Fill in the required details and create your project.
After your project is created, you will need to copy a few essential items:
- Project URL: This is your Supabase project’s unique URL.
- Publishable Key: This key is used to authenticate your client-side application.
You will see a copy icon next to these items; click on them to copy the values to your clipboard.
Step 3: Setting Up Environment Variables
To keep your sensitive information secure, we will use environment variables. Create a .env file in the root of your project and add the following variables:
SUPABASE_URL=your_supabase_project_url
SUPABASE_PUBLIC_KEY=your_publishable_key
Replace your_supabase_project_url and your_publishable_key with the values you copied from the Supabase dashboard.
Step 4: Creating the Supabase Client
Now, we will create a JavaScript file to configure the Supabase client. In your src directory, create a file named Supabase.js. Open this file and add the following code:
import { createClient } from '@supabase/supabase-js';
import dotenv from 'dotenv';

// Load environment variables from .env file
dotenv.config();

// Access the Supabase URL and Key from the .env file
const SUPABASE_URL = process.env.SUPABASE_URL;
const SUPABASE_PUBLIC_KEY = process.env.SUPABASE_PUBLIC_KEY;

// Create a Supabase client
const supabase = createClient(SUPABASE_URL, SUPABASE_PUBLIC_KEY);

export default supabase;
Explanation of the Code
- dotenv: We import the
dotenvpackage to read variables from the.envfile. - createClient: This function initializes the Supabase client using the URL and publishable key from your environment variables.
- Export: We export the
supabaseclient for use in other parts of our application.
Step 5: Configuring Relative Paths
Since your .env file is located in the root directory and your Supabase.js file is inside the src directory, ensure that your relative paths are correctly configured. The above code handles this by referencing the environment variables properly.
Step 6: Cleaning Up
After confirming that your .env file is set up correctly, you can remove any example .env files if they exist in your project to avoid confusion.
Conclusion
Congratulations! You have successfully set up your Supabase project with the publishable key and URL. In the next part of this series, we will dive into creating the actual vector table inside Supabase, which is essential for our RAG implementation.
If you found this tutorial helpful, please consider liking and subscribing to stay updated with future tutorials.
Unlock your potential today at Skill Bakery. See you on Day 7!
Connect with SkillBakery Studios
Explore more tutorials, tools, and resources:
Posted by SkillBakery Studios


 Hello, my name is Jack Sparrow. I'm a 50 year old self-employed Pirate from the Caribbean.
No comments:
Post a Comment