
Lecture-8: RAG for Beginners: Store Vector Embeddings in Supabase | Build a RAG Vector Database
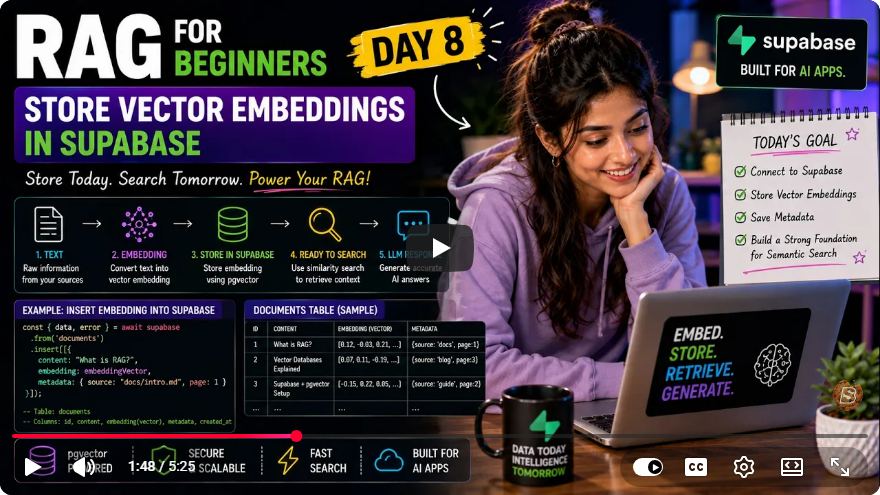
Building a RAG Vector Database: Storing Vector Embeddings in Supabase
In this tutorial, we will walk through the process of storing vector embeddings in Supabase, building on the groundwork laid in previous lectures. This tutorial assumes you have a basic understanding of JavaScript, Node.js, and Supabase.
Prerequisites
Before diving into the implementation, ensure you have the following setup:
- Node.js: Ensure you have Node.js installed (preferably version 22 or later).
- Supabase Account: Sign up for a Supabase account if you haven't already.
- Environment Setup: Create a
.envfile to securely store your Supabase credentials.
Step 1: Create the Vector Table
In the previous lecture, we created a vector table named documents in Supabase with the following columns:
- ID (auto-generated)
- content (text)
- embedding (vector)
This table will hold the embeddings we generate from our text data.
Step 2: Setting Up Your Project
Let’s start by creating a new JavaScript file named store_embeddings.js. This file will handle the process of generating and storing embeddings.
File Structure
Your project directory should look something like this:
/your-project
|-- .env               // Your environment variables
|-- store_embeddings.js // JavaScript file to store embeddings
|-- supabase.js        // Supabase client configuration
|-- embeddings.js       // Embedding generation logic
Import Required Modules
In your store_embeddings.js, start by importing the necessary functions:
const { createEmbedding } = require('./embeddings.js');
const { createClient } = require('./supabase.js');
Here, createEmbedding is a function that generates embeddings from your text data, and createClient initializes your Supabase client using credentials stored in your environment file.
Step 3: Generate and Store Embeddings
Next, we will define the main logic to generate embeddings and store them in the Supabase database.
async function storeEmbeddings(texts) {
    console.log("Generating embeddings...");

    const embeddings = await createEmbedding(texts);
    console.log(`Created ${embeddings.length} embeddings`);

    const documents = texts.map((text, index) => ({
        content: text,
        embedding: embeddings[index],
    }));

    const { data, error } = await supabase
        .from('documents')
        .insert(documents);

    if (error) {
        console.error("Error inserting documents:", error);
        return;
    }

    console.log(`Inserted ${data.length} records successfully.`);
}
Explanation of the Code
Generating Embeddings: We call the
createEmbeddingmethod, passing in an array of texts. The embeddings generated are logged in the console.Preparing Data for Insertion: We create an array of documents where each document consists of the content and its corresponding embedding.
Inserting Data into Supabase: We use the Supabase client to insert the prepared documents into the
documentstable. Any errors during this process are logged.
Step 4: Running Your Script
To execute your script, use the command line:
node store_embeddings.js
Troubleshooting Common Errors
Node.js Version Issues: If you encounter errors related to WebSocket (WS) support, ensure you are using Node.js version 22 or later. If needed, install the WS package:
npm install wsAdjust your Supabase client creation in
supabase.jsto includewsif necessary.Invalid URL Configuration: If you see errors about invalid requests, double-check your Supabase URL in your
.envfile. Ensure you are using the correct format without appending version numbers or extra paths.
Step 5: Verify Insertions
After running your script successfully, you can verify the records in your Supabase dashboard. Navigate to the documents table, and you should see the newly inserted embeddings.
Conclusion
Congratulations on successfully storing vector embeddings in Supabase! In the next lecture, we will explore semantic search techniques to retrieve the most relevant documents based on meaning rather than just keywords.
If you found this tutorial helpful, consider liking and subscribing for more content. Happy coding!
Connect with SkillBakery Studios
Explore more tutorials, tools, and resources:
Posted by SkillBakery Studios


 Hello, my name is Jack Sparrow. I'm a 50 year old self-employed Pirate from the Caribbean.
No comments:
Post a Comment